Installing Hardware 47
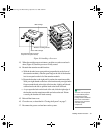
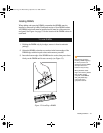
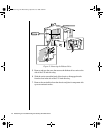
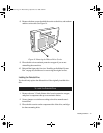
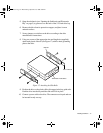
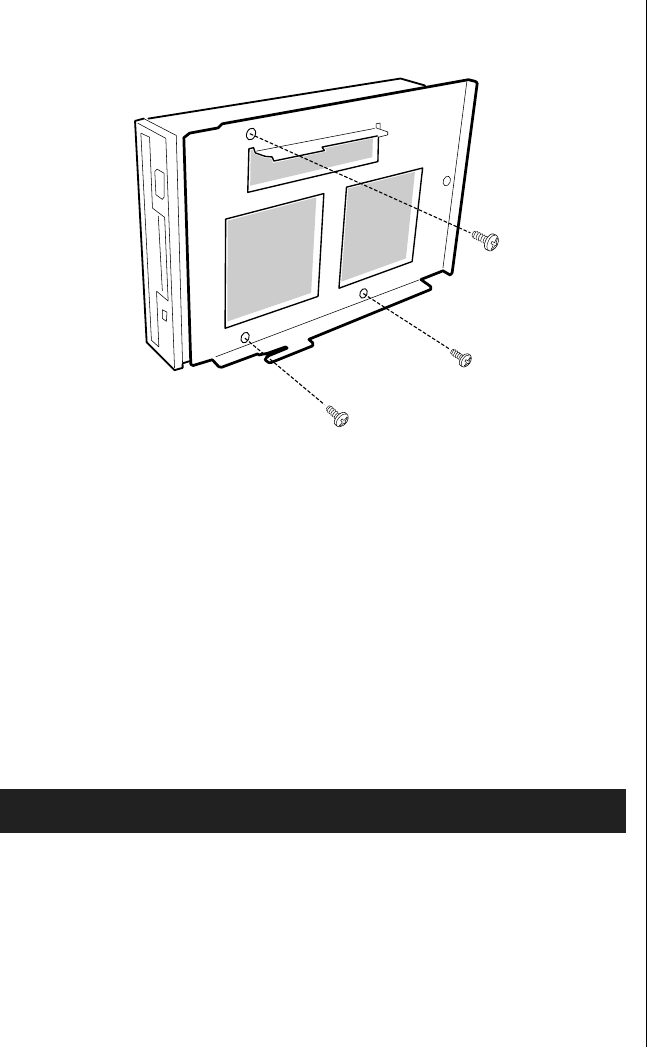
8. Remove the three screws that hold the carrier to the drive, and set them
and the carrier aside. See Figure 14.
Figure 14: Removing the Diskette Drive Carrier
9. Place the drive in an antistatic protective wrapper if you are not
reinstalling the same drive.
10. Reinstall the foam pads, fans (see “Installing an Individual System
Fan” on page 62) and the access cover using the original screws.
Installing the Diskette Drive
You should only replace the diskette drive if the originally installed drive
fails.
1. Remove the new 3.5-inch diskette drive from its protective wrapper,
and place it component-side up on an antistatic surface.
2. Set any jumpers or switches according to the drive manufacturer's
instructions.
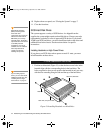
3. Place the drive carrier on the component-side of the drive, and align
the three mounting holes.
To Install the Diskette Drive
3424.boo Page 47 Wednesday, September 2, 1998 9:23 AM


