1-11
Company confidential. Murillo/Ravillo User’s Guide. Final Freeze Status: Frozen
This is the cyan on page 1-11 (seq: 29)
This is the black on page 1-11 (seq: 29)
Task 4: Load Media
For advice on the availability and use of different media types, see the section
starting on page 3-2.
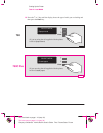
IMPORTANT Because the next task is to load the cartridge(s) and carry out the automatic
cartridge alignment procedure, you must load opaque media at this stage – for
example, opaque bond (plotter paper) for the DesignJet 700 or coated paper for the
DesignJet 750C Plus, as this necessary for the alignment procedure. A roll of
suitable HP Media is supplied with your plotter.
To load roll media, start with step 1 below.
To load sheet media, go to page 1-18.
To Load a Roll
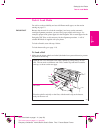
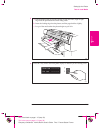
1 Make sure the plotter wheels are locked (the brake levers pressed down) to prevent
the plotter from moving.
2
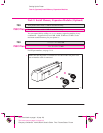
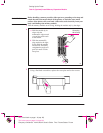
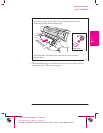
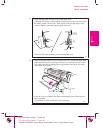
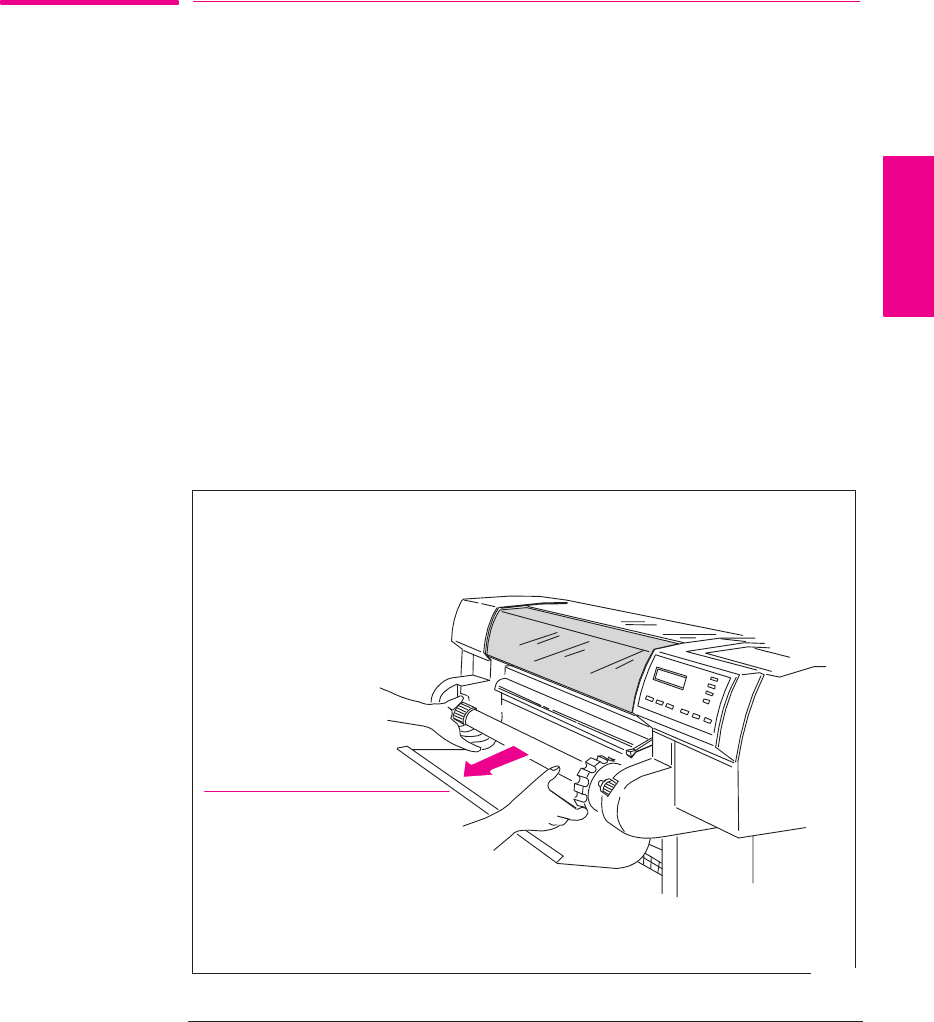
Open the roll cover and remove the empty spindle by pulling firmly on each
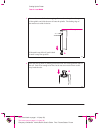
end. The two ends are different: end A has a media stop and end B a smaller
end cap, as shown on the next page.
A
B
Roll cover
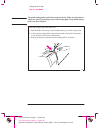
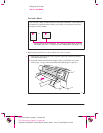
Place the spindle vertically on the floor, with the media stop at the bottom,
ready for the new roll.
1865
SETUP
1
Setting Up the Plotter
Task 4: Load Media


