


Installation32
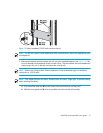
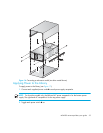
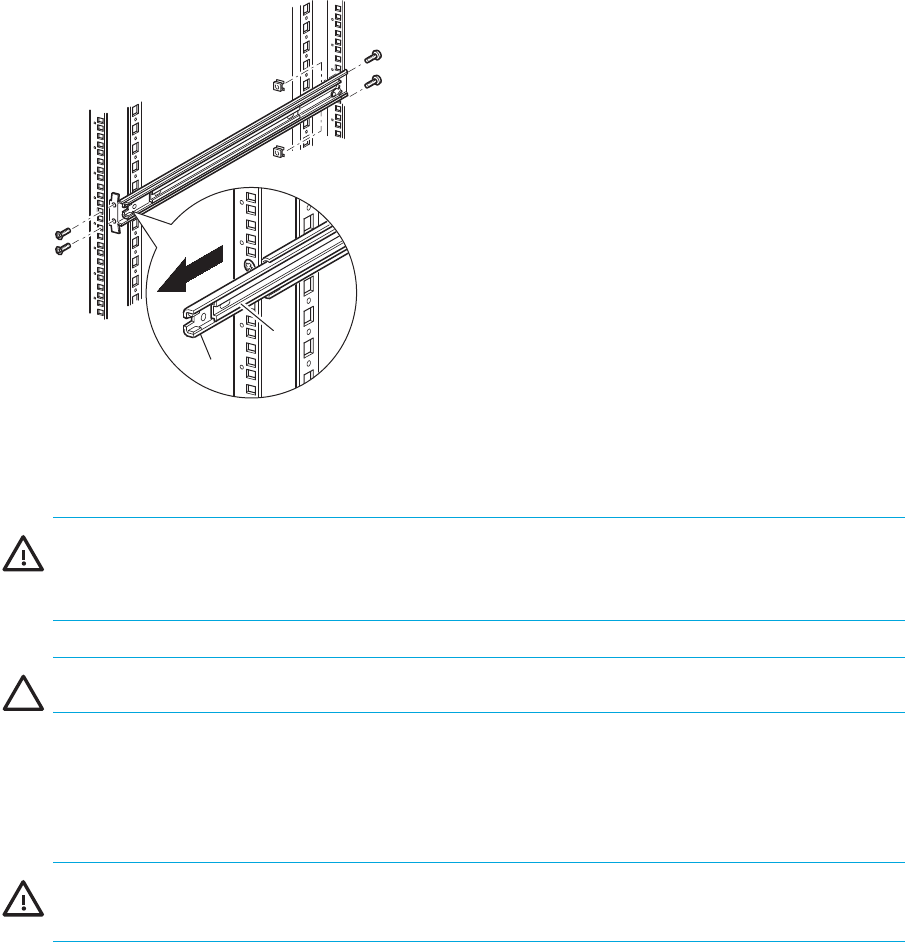
Figure 13 Installing the rails
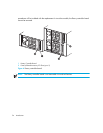
3. Install the two slide-on clip nuts (previously marked using the template, two holes above the top
bracket screw holes) on each of the front rack enclosure vertical rails (Figure 13).
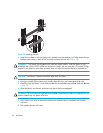
WARNING! Two people should perform the next step. Make certain, when the library is fully
extended, that a force of 20% of the rack enclosure’s weight, but not more than 57 pounds (26 kg),
applied in any direction other than upwards, does not cause the rack enclosure to overbalance.
CAUTION: The library is heavier toward the tape drive end (rear).
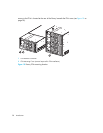
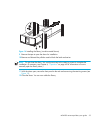
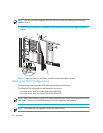
4. Using two people, lift the library and visually align the inner and intermediate slide rails.
5. Carefully insert the library’s inner slide rails Z into the extended intermediate slide rails Y (see
Figure 14).
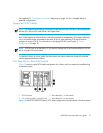
6. Slide the library into the rack enclosure until the rail locks are engaged.
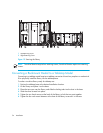
WARNING! A rack enclosure might become unstable if more than one library is extended for any
reason. Extend only one library at a time.
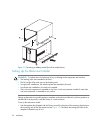
7. Push in on the rail locks to release the library and slide the library completely into the rack
enclosure.
8. Fully tighten the rear rail screws.
1
2