


Appendix A. Adding a tape drive
This appendix explains how to add a tape drive to the library. See Chapter 1,
“Introduction” for a list of tape drives supported by the library.
To add a tape drive, complete the following procedure:
1. Unpack the tape drive and inspect it for any damage. If the tape drive has been
damaged, return it to IBM for a replacement.
Note: With a blank panel or tape drive removed, there is access to moving
parts. DO NOT reach into open cavities.
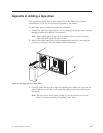
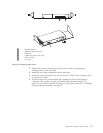
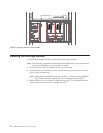
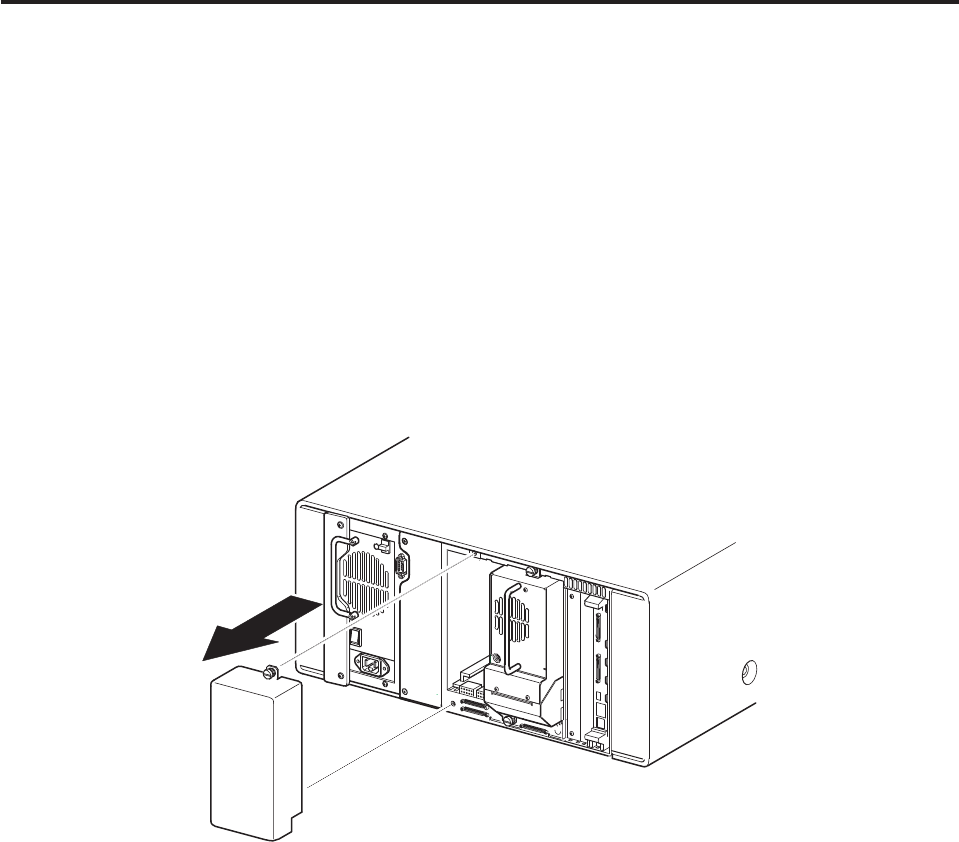
2. Remove the blank panel that covers the appropriate tape-drive mounting bay
as shown in Figure 62. Save the blank panel for future use.
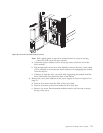
3. Carefully insert the tape drive into the mounting bay. Make sure you push the
drive in all the way so that it fully seats the mating connectors at the rear of
the library.
Note: The tape drives are hot-plug capable so you do not have to turn the
library off when removing or installing a tape drive.
Figure 62. Removing tape-drive blank panel
© Copyright IBM Corp. 2002 67