Chapter 3 - Connecting and Installing Your Impulse
3-13
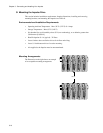
Impulse DIN-Rail Mounting
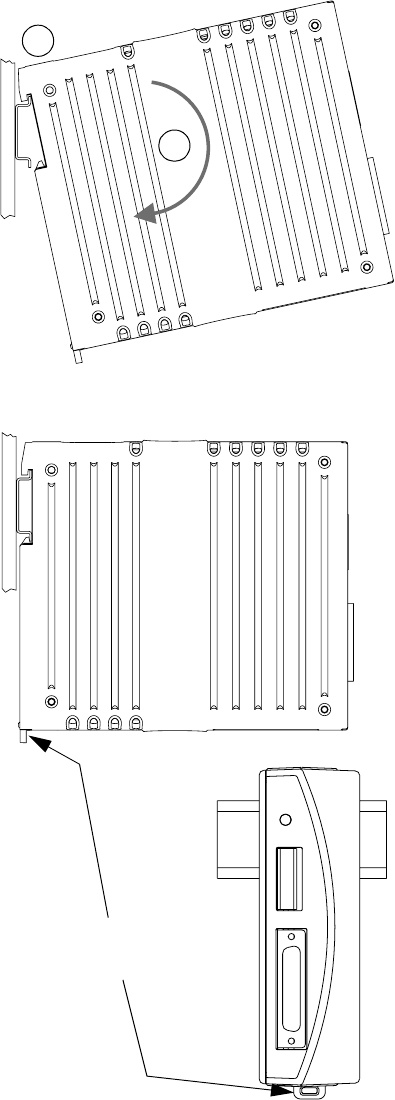
The DIN-rail mounting system is a combination of 1) a removable mounting bracket, which locks
the drive onto the DIN-rail (installation on previous page), plus 2) the DIN-rail hanger on the upper
rear part of the housing that suspends the weight of the drive on the rail.
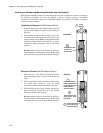
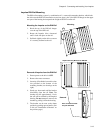
Mounting the Impulse on the DIN-Rail
1. Hook the top of the DIN-rail hanger
over the top of the DIN-rail.
2. Rotate the Impulse drive downward
until it locks into place on the rail.
3. Pull back slightly on the drive to ensure
it is securely fastened to the rail.
Removal of Impulse from the DIN-Rail
1. Ensure power to the drive is OFF.
2. Remove the motor connector.
3. Insert tip of flat-bladed screwdriver into
slot provided on the bottom of the
mounting bracket (see drawings on the
right).
4. Gently pry downward until the bracket
disconnects from the rail. Note: The
bracket will fall approximately 1 inch,
but will still be retained by the Impulse
housing. Do not attempt to remove the
bracket by pulling it from the housing.
5. The bracket can be reset to the detent
position by pushing upward until a click
is felt (see “Installation of Bracket” on
the previous page).
1
2
Impulse Securely Mounted on DIN-Rail
Insert screwdriver blade
and pull downward
Mounting
Removal


