Chapter 6 - Hardware Reference
6-2
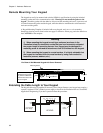
Remote Mounting Your Keypad
The keypad can easily be mounted and sealed to NEMA 4 specifications by using the included
mounting gasket and 6-foot communication cable. Warning: Do not attach the gasket to the
keypad. Attach the gasket with the adhesive side toward the mounting enclosure. A pressure-seal
is formed between the gasket and the keypad, while the adhesive maintains the seal between the
enclosure and the gasket.
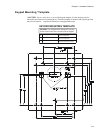
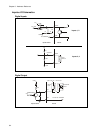
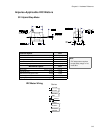
A Keypad Mounting Template is included with every keypad, and a not to scale mounting
dimensions drawing can be found on the next page for reference. Please pay particular attention to
the CAUTION on the template.
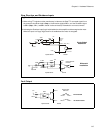
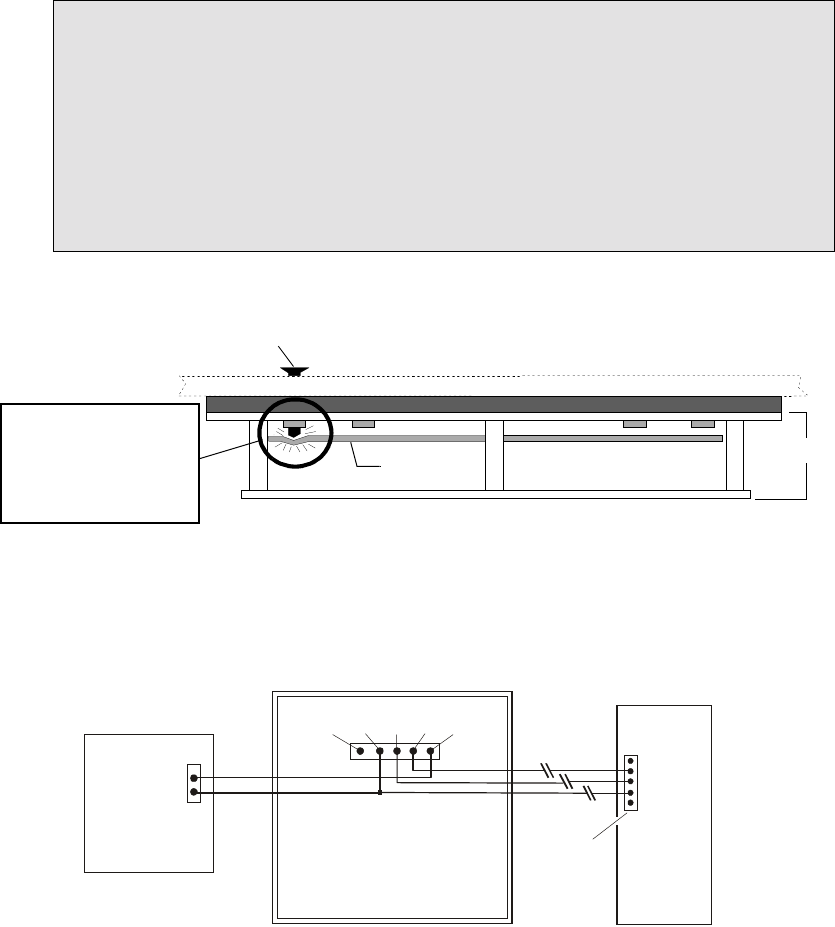
Extending the Cable Length to Your Keypad
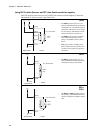
The keypad cable may be extended if necessary, but at longer distances your keypad may require a
separate, regulated 5 VDC (500mA) power supply as shown in the illustration below. Consult IDC
Applications Engineering if you have questions about this procedure.
Warning
1) When mounting the keypad on wall-type surfaces (as shown in the
illustration below) be absolutely certain that you have accurately estimated
the proper length of mounting screws. Your keypad may be damaged if a
mounting screw is allowed to extend more than 0.20 inches into the keypad.
2) When mounting the keypad to a metal surface, it is highly advisable that
the keypad be insulated from the metal surface by using non-conductive
fasteners (screws, washers, etc.).
mounting surface
End View of Wall-Mounted Keypad with Cover Removed
Circuit Board
Mounting Screw
The circuit board may be
damaged if any mount-
ing screw is allowed to
extend more than 0.20’’
into the keypad.
keypad gasket
Keypad
+5V
GND
N/C GND
RX TX +5V
+5V Regulated
Power Supply
KEYPAD
COM
PORT
+5V
RX
TX
COM
SHLD


