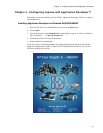
Chapter 4 - Configuring Impulse with Application Developer
4-5
Using the Project Wizard
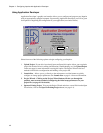
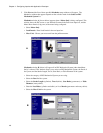
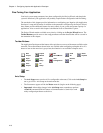
1. Click the Project Wizard button on the Application Developer Startup window.
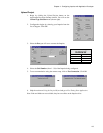
• Select the product you are configuring, Impulse in this case, and click on Next.
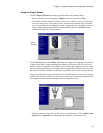
• The Wizard Navigator (left side of window) allows you to quickly locate your current posi-
tion in the setup process. The column of boxes represents the parameter being configured.
A box’s color represents its configuration status, i.e. gray indicates a parameter not yet con-
figured, yellow indicates the parameter currently being configured, and black indicates
completed configuration of the parameter.
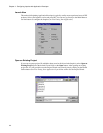
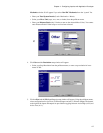
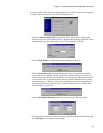
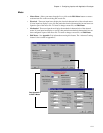
2. Click on the Next button and the Motor setup window will appear. The configuration procedure
in Motor Setup differs slightly depending upon whether you are using IDC or Custom (user-
defined) motor (see Appendix C to configure a custom motor). IDC-supplied motors have been
precisely characterized in motor files which reside in an Application Developer directory. These
files cannot be altered or deleted. User-defined (custom) motor files must be created by the user.
If you want to change the operational characteristics of an IDC motor, you can do so by selecting
an IDC motor from the scrollable list and saving it under a new file name in the Motor Editor
(the original motor file remains unchanged under its original file name).
• From the pulldown menu, select the IDC motor you will be using, or click on Add Custom
Motor and see Appendix C for information on configuring a custom motor file.
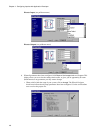
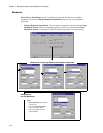
Wizard
Navigator


