


CHAPTER 5
Installing Modules
5-10
8 Tighten the module’s captive screws using a Phillips screwdriver.
Alternately turn each screw several times before tightening them
completely to allow the module to sit correctly.
Installing Line and I/O Modules
This section describes the procedures for installing line and I/O modules.
Note: Install the I/O module before you install the corresponding line module;
otherwise, the system diagnostics fail, and after the line module has tried to reboot,
its status will be “inactive” when you issue the show version command.
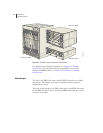
Installing a Line Module or an I/O Module
To install a module:
1 Ground yourself by using an antistatic wrist strap or other device.
2 Choose the slot where you want to insert the module.
Note: Line modules are in the front of the system, and I/O modules are in the back
of the system.
3 With a Phillips screwdriver, loosen the screws that secure the blank
faceplate covering the empty chassis slot, if present, and remove the
faceplate.
4 Remove the module from its antistatic bag.
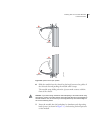
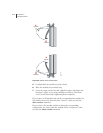
5 Verify that the ejectors are in the open position, as shown in
Figure 5-5.
6 Guide the module into the chassis by placing it between the guides of
the selected slot and pushing the module until it stops.
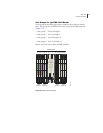
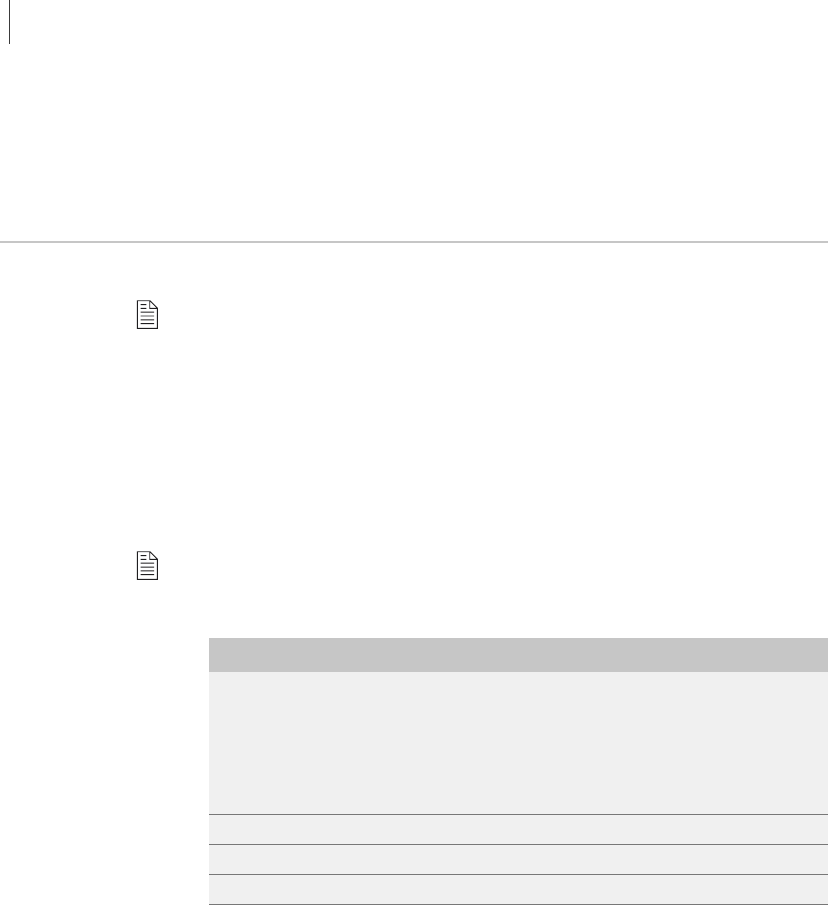
Table 5-3 Module slot assignments
E-Series Router Module Slot
ERX-1440 router • Install modules other than the OC48 modules in slots 0–5 and
slots 8–13
• Install the OC48 line module in slots 2–3 and slots 4–5
› Install the corresponding I/O module only in the lower of
the two slots (either slot 2 or slot 4) that the line module
spans
ERX-1410 router Install modules in slots 0–5 and slots 8–13
ERX-7xx model Install modules in slots 2–6
ERX-310 router Install modules in slots 1–2