


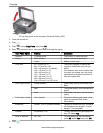
Scan Option Settings Description
Scan Size Auto (default) 2 x 3 3.5 x 5 4 x 6 4 x 7
4 x 8 5 x 7 4 x 12 8 x 10 8.5 x 11 A4
Determines the size that is scanned.
Save as Defaults No / Yes To save the settings as the new default,
press OK. With Yes selected, press
OK.
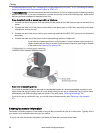
6. Press . The scanned file appears on the memory card.
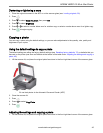
Scanning to e-mail
You can scan your original and immediately send the scanned file by e-mail to one or more recipients directly from
the printer.
: You must first use the Online Printer Management Tool to set up scanning to e-mail options (see Setting up Scan
To E-mail, 15).
1. Press .
2. Press to select Scan, then press OK.
3. Press to select Scan to E-mail, then press OK.
4. Select an outgoing e-mail profile (the person from whom the e-mail with the scan attachment is sent), then press
OK.
5. If necessary, enter the 4-digit PIN (see Step crossref(Stepxref): : 17 under Creating the outgoing e-mail profile,
15), select Done, then press OK.
6. Select an e-mail recipient, then press OK.
7. Repeat step 5 for each recipient.
8. Press .
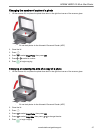
Scanning to network folder
You can scan your original and immediately send the scanned file to a network folder directly from the printer.
: You must first use the Online Printer Management Tool to set up scanning to network folder options (see Setting
up Scan To Network Folder, 19).
1. Press .
2. Press
to select Scan, then press OK.
3. Press to select Scan to Network Folder, then press OK.
4. Select Sharing folder, then press OK.
5. If necessary, enter the 4-digit PIN (see Step crossref(Stepxref): : 17 under Creating the outgoing e-mail profile,
15), select Done, then press OK.
6. Press .
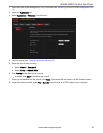
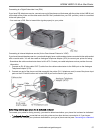
Scanning from the computer
1. Open Home Centre Software, then:
KODAK HERO 2.2 All-in-One Printer
www.kodak.com/go/aiosupport 53