A-61560 June 2006 43
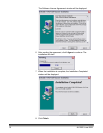
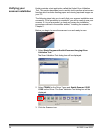
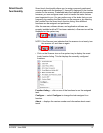
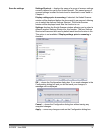
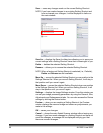
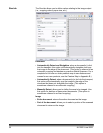
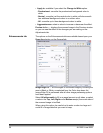
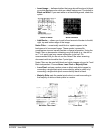
2. Determine if you want to capture an electronic image of the front of
your document, back of your document or both sides of your
document and make the selection from the Input Document is drop-
down list. Options are:
• Two Sided — captures both sides of the document
• One Sided-Front — captures the front side only
• One Sided-Back — captures the back side only
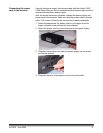
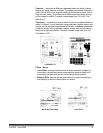
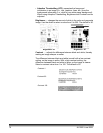
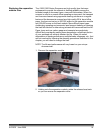
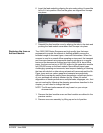
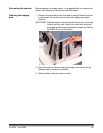
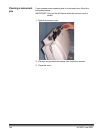
3. Place one or two representative documents in the input tray of the
scanner.
NOTE: When scanning one side of a document or if you are using
an i1210 or i1310 Scanner, be sure to place the side of the
document to be scanned facing the input tray.
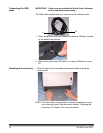
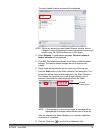
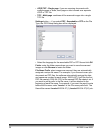
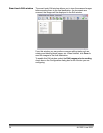
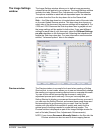
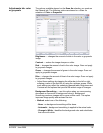
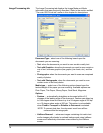
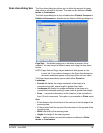
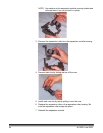
4. If you want to see what your selected image processing options will
look like and make on-screen changes, click Preview to review and
adjust the image.
This only needs to be done if you want to make interactive
adjustments to your selected image processing options.
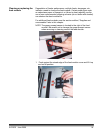
5. If you are satisfied with your selected image processing options,
reload your document if necessary and click Scan.
• If the images are acceptable, the image processing settings are
fine and you do not need to click the Settings button to alter any
values in the General, Size, Adjustments or Enhancements tabs.
• If the images are not acceptable, you can either select a different
predefined Setting Shortcut that more closely describes your
desired output or you can continue to work with the Setting
Shortcut you have selected by reviewing each setting on the
General, Size, Adjustments and Enhancements tabs and make
the appropriate changes. When you make any changes, repeat
Steps 3 - 5 to until you get the desired results.
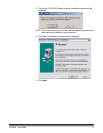
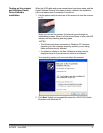
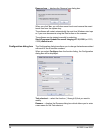
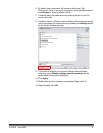
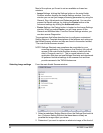
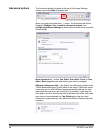
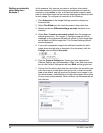
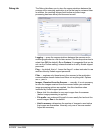
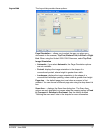
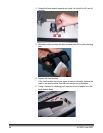
6. If you made any changes to a predefined Setting Shortcut, click
Save As on the main Kodak Scanner window. The Save As dialog
box will be displayed.
7. Enter a new Setting Shortcut name that is meaningful to you and
click Save. You have now created and saved a custom Setting
Shortcut which can be used for your scanning operations.