Connecting the cables
You must turn off the server before you connect any cables to or disconnect any
cables from the server.
Note: If the cable that you are connecting or disconnecting is a USB cable,
however, you do not have to turn off the server.
See the documentation that comes with optional devices for additional cabling
instructions. It might be easier for you to route cables before you install certain
devices.
For details about the locations and functions of the input/output connectors, see
“Server controls, LEDs, and power” on page 5.
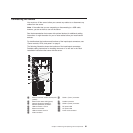
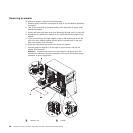
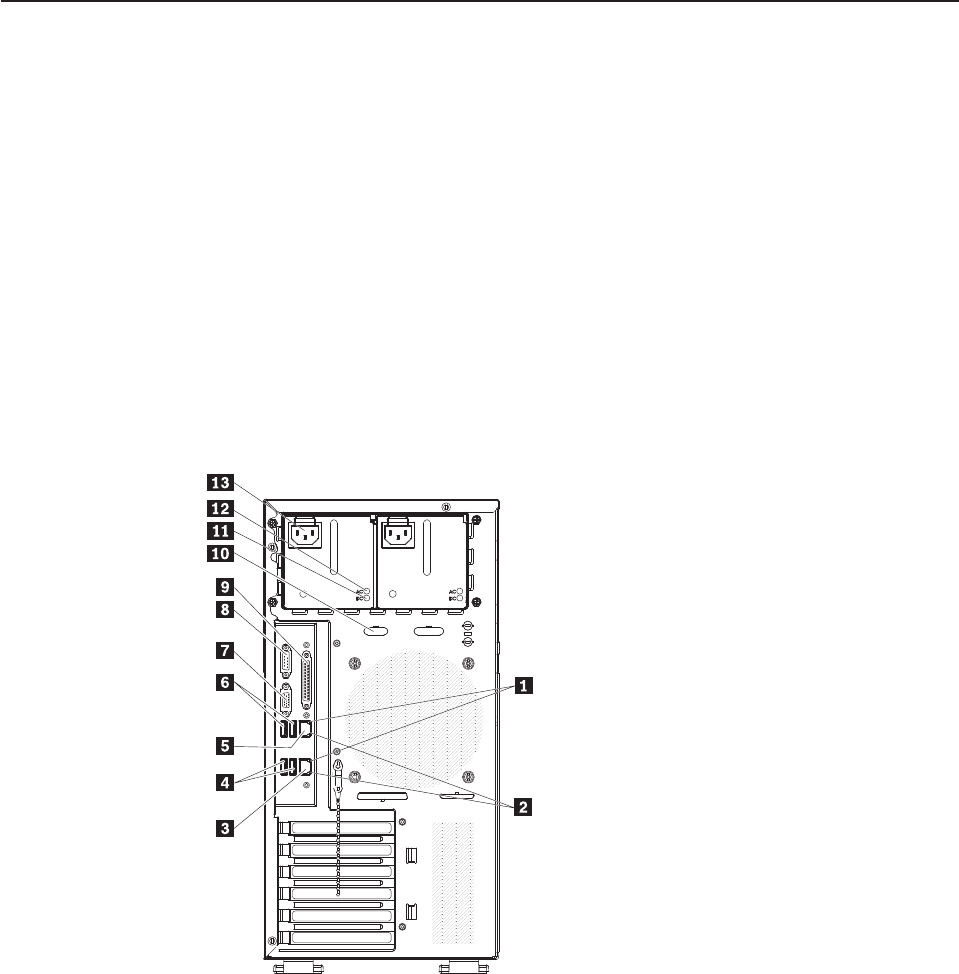
The following illustration shows the locations of the input/output connectors.
Detailed cabling instructions for installing the server in a rack are in the Rack
Installation Instructions that come with the server.
1 Ethernet transmit/ receive activity LED
(amber)
8 Serial 1 (Com1) connector
2 Ethernet link status LED (green) 9 Parallel connector
3 Remote Supervisor Adapter II
SlimLine (Ethernet) connector
10 Serial 2 (Com2) connector
4 USB connectors 1 and 2 11 DC power LED
5 Ethernet connector 12 AC power LED
6 USB connectors 3 and 4 13 Power cord connector
7 Video connector
Chapter 4. Removing and replacing server components 61


