Removing and replacing self-service CRUs
Replacement of self-service CRUs is your responsibility. If Lenovo installs a
self-service CRU at your request, you will be charged for the installation.
The illustrations in this document might differ slightly from your hardware.
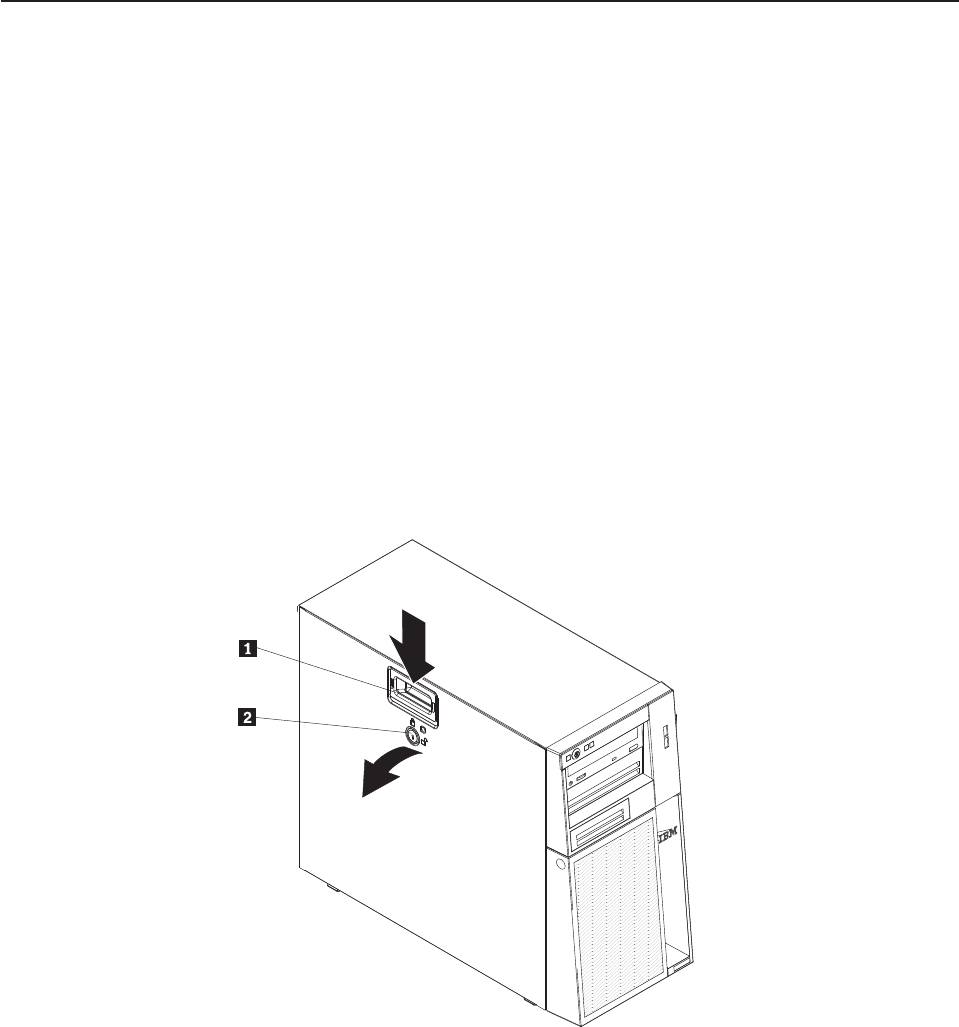
Removing the side cover
Attention: Operating the server for more than 30 minutes with the side cover
removed might damage server components. For proper cooling and airflow, replace
the side cover before you turn on the server.
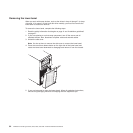
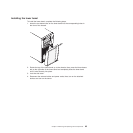
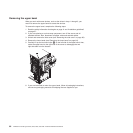
To remove the side cover, complete the following steps:
1. Read the safety information that begins on page vii and “Installation guidelines”
on page 57.
2. If you are replacing a non-hot-swap component, turn off the server and all
attached devices; then, disconnect all power cords and external cables.
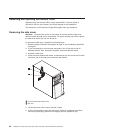
3. Unlock the side cover.
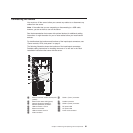
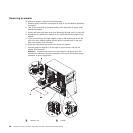
4. Press the cover-release latch down, as indicated by the two arrows on the latch,
and tilt the top of the side cover away from the chassis.
1 Cover-release latch Optical drive
2 Key lock
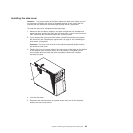
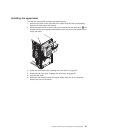
5. Lift the side cover off the server and set it aside.
6. If you are instructed to return the side cover, follow all packaging instructions,
and use any packaging materials for shipping that are supplied to you.
62 ThinkServer TS100 Types 6431, 6432, 6433, and 6434: Hardware Maintenance Manual


