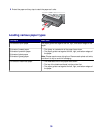
Load up to Make sure
10 envelopes
• You do not load envelopes with holes, perforations, cutouts, deep
embossing, metal clasps, metal folding bars, string ties, or exposed
adhesive flaps into the printer.
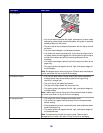
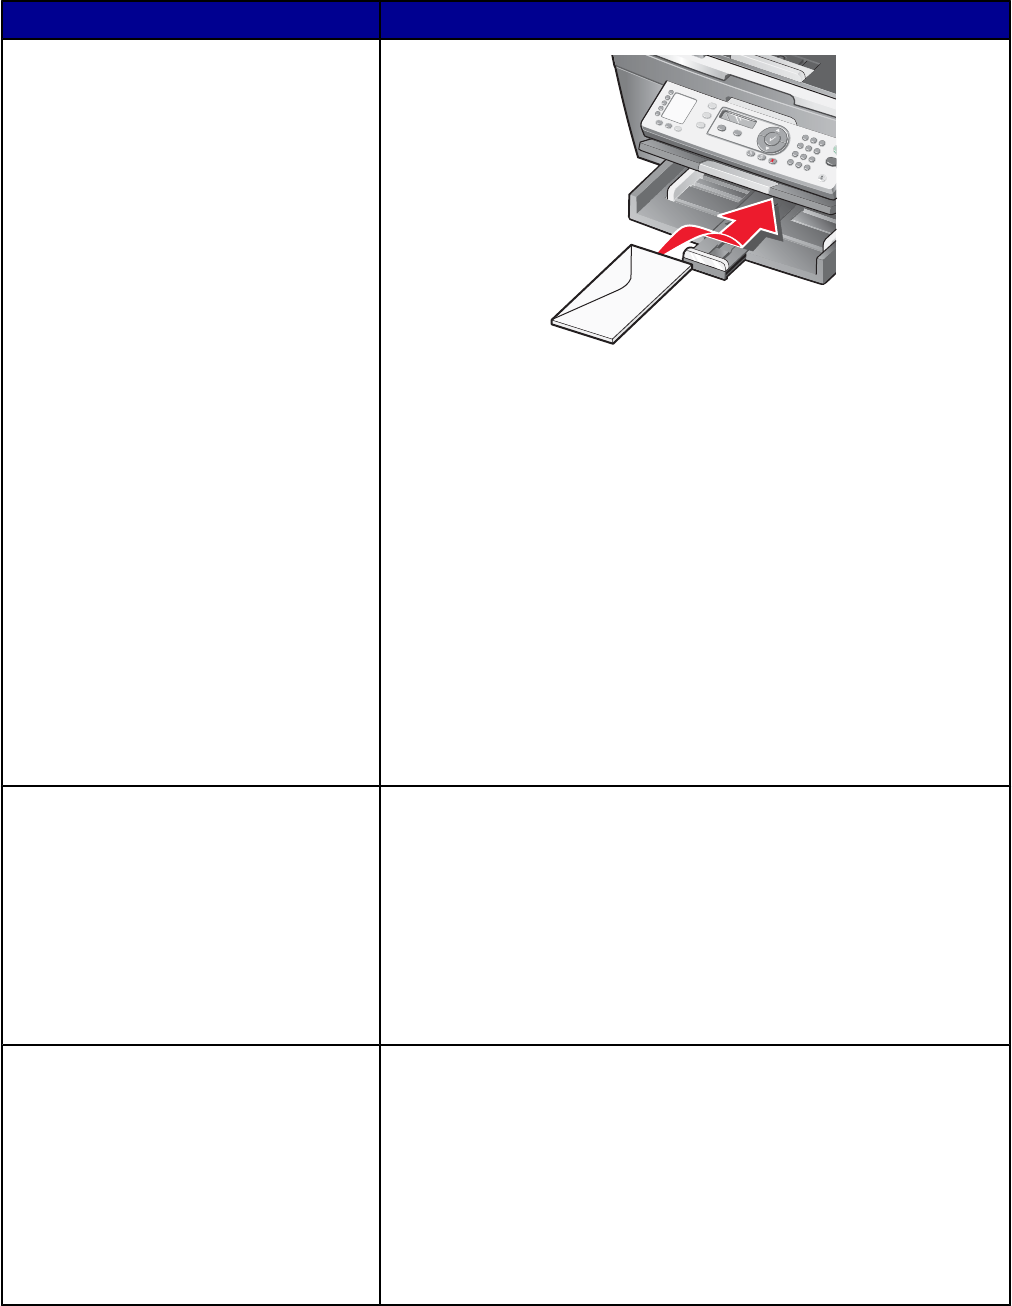
• The print side of the envelopes faces down with the flap to the left
as shown.
• You print the envelopes in landscape orientation.
• You select the correct envelope size. If the exact envelope size is
not listed, select the next biggest size. Set the left and right margins
so that the envelope text will be correctly positioned on the
envelope.
• You load the envelopes vertically and all the way to the back of the
paper tray.
• The paper guides rest against the left, right, and bottom edges of
the envelopes.
Note: Envelopes require more drying time. Remove each envelope as
it exits, and allow it to dry to avoid ink smudging.
25 sheets of labels
• You use full label sheets. Partial sheets (with areas exposed by
missing labels) may cause labels to peel off during printing,
resulting in a paper jam.
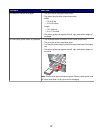
• The print side of the labels faces down.
• The top of the labels feeds into the printer first.
• The paper guides rest against the left, right, and bottom edges of
the label sheets.
Note: Labels require more drying time. Remove each sheet of labels
as it exits, and allow it to dry to avoid ink smudging.
50 transparencies
• The rough side of the transparencies faces down.
• You remove any paper backing sheets from the transparencies
before loading.
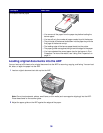
• If the transparencies have a removable strip, each strip faces down
toward the paper tray.
• The paper guides rest against the left, right, and bottom edges of
the transparencies.
Note: Transparencies require more drying time. Remove each
transparency as it exits, and allow it to dry to avoid ink smudging.
36


