- 148 -
Wi-Fi
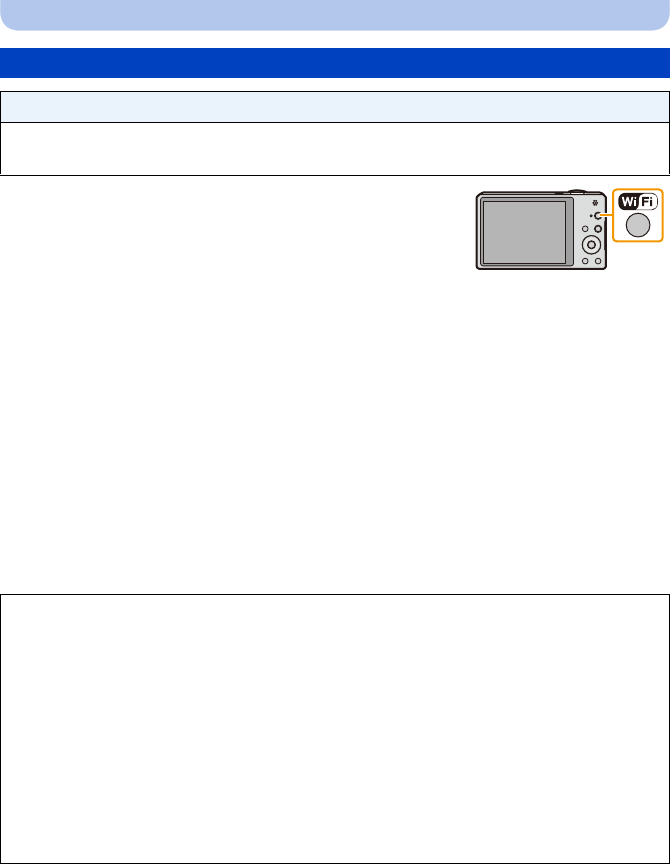
1 Press [Wi-Fi].
2 Press 3/4/2/1 to select [New Connection], and then
press [MENU/SET].
•
When connecting with the setting you used before, you can select the connection destination
from [History Connection] (P135) or [Favorite Connection] (P136).
3 Press 3/4 to select [Send Images While Recording], and then press [MENU/SET].
4 Press 3/4 to select [Cloud Sync. Service], and then press [MENU/SET].
5 Press [MENU/SET].
6 Press 3/4 to select [Via Network], and then press [MENU/SET].
7 Press 3/4 to select connection method, and then press [MENU/SET]. (P138)
8 Check the send setting.
•
When the connection is complete, the screen is displayed. To change the send setting, press
[DISP.]. (P145)
9 Take pictures.
•
To change the setting or disconnect, press [Wi-Fi]. (P142)
You cannot change the settings while sending pictures. Wait until sending is complete.
When sending images to [Cloud Sync. Service]
Preparations:
You need to register to “LUMIX CLUB” (P163) and configure the Cloud Sync. setting to send a
picture to a Cloud Folder.
∫ About the images sent to a Cloud Folder by the use of [Cloud Sync. Service]
(As of January 2013)
To send images to a Cloud Folder, Cloud Sync. setting is required. Configure the settings on a
PC with “PHOTOfunSTUDIO” or on a smartphone/tablet with “Image App”.
•
If you set the picture destination to [Cloud Sync. Service], sent pictures are temporarily saved in the
cloud folder, and they can be synchronised with the device in use, such as the PC or smartphone/
tablet.
•A Cloud Folder stores transferred images for 30 days (up to 1000 pictures). Transferred images are
deleted automatically 30 days after the transfer. Furthermore, when the number of stored images
exceeds 1000, some images may be deleted depending on the [Cloud Limit] (P145) setting even
within 30 days after the transfer.
•When the download of images from a Cloud Folder to all specified devices is complete, images
may be deleted from the Cloud Folder even within 30 days after the transfer.


