Chapter 8 Managing Drives and Disks
Working with Tape Drives
StorNext User’s Guide 196
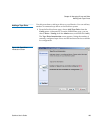
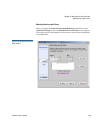
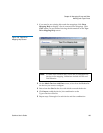
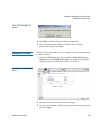
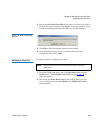
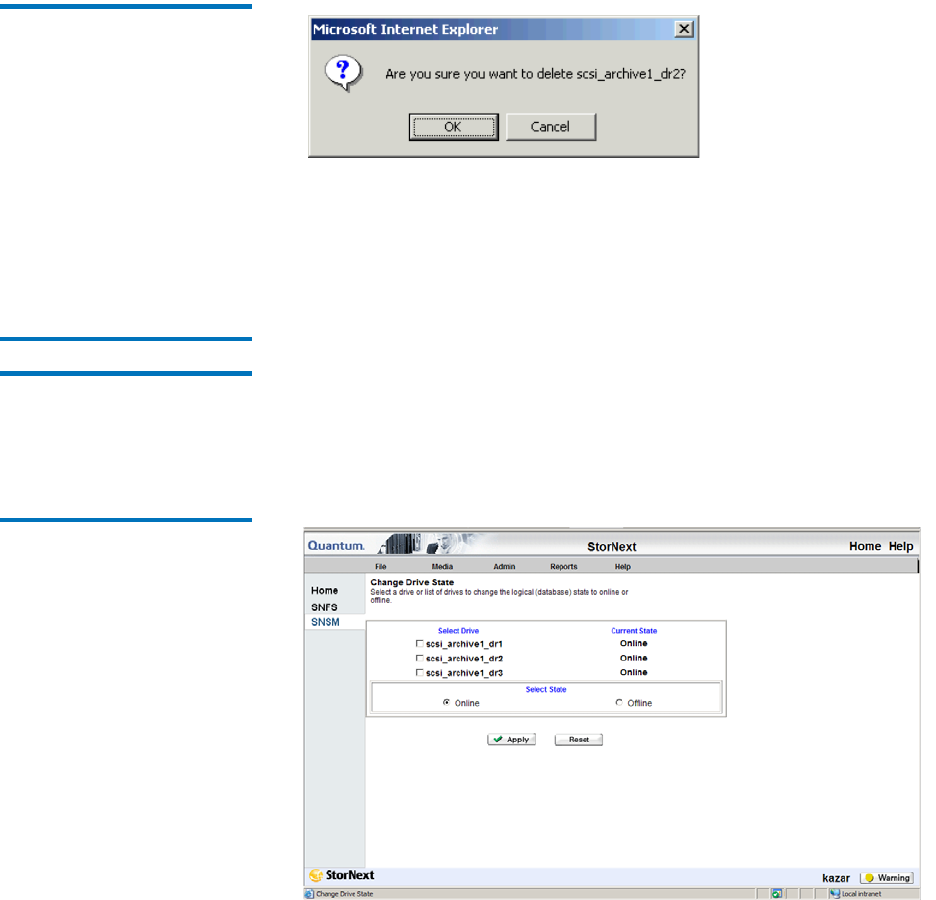
Figure 138 Delete Warning
Window
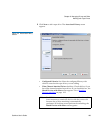
3 Click OK to close the message window and proceed.
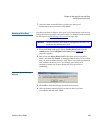
4 After the Status Screen informs you that the drive has been
successfully deleted, click Close.
Changing a Drive State 8
The drive state function allows you to change the logical (database) state
to online or offline.
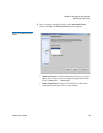
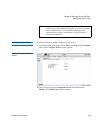
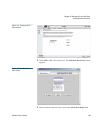
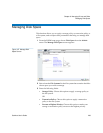
1 From the SNSM home page, choose Drive > Drive State from the
Admin menu. The Change Drive State screen appears, showing all
configured drives and the current state for each drive.
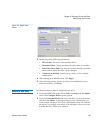
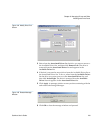
Figure 139 Change Drive State
Screen
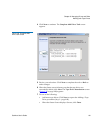
2 Select the drive whose state you want to change.
3 Select the state (Online or Offline) to assign to the selected drive, and
then click Apply.


