


36 | CHAPTER 5 – MAINTAINING AND TROUBLESHOOTING YOUR SMART BOARD
685ix INTERACTIVE WHITEBOARD SYSTEM
Part No. 99-00984-20 REV A0
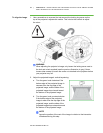
Aligning the Image
Use this procedure to obtain a rectangular image that is slightly smaller than the
interactive whiteboard’s screen.
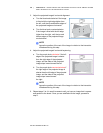
IMPORTANT
• Do not use the projector’s on-screen menu options to make image
adjustments.
• Do not touch the projector lens or mirror. This can disturb the focus or quality
of image that your projector displays.
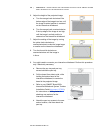
NOTES
• Project a computer image (set to the proper resolution) while performing the
following steps.
• If you don’t have a computer, use the projector’s default background so that
you can see the full projected image clearly.
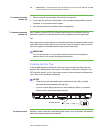
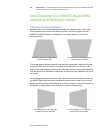
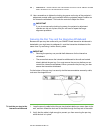
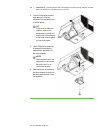
• The following diagram shows
the color-coded control knobs
on the top of the projector’s
adjustment module. Use only
these control knobs to adjust
the projector’s image, and
always unlock the locking ring
to adjust the projector’s image.
• SMART doesn’t recommend
adjusting the digital keystone
adjustment within the projector.
Instead, use the mechanical
adjustment module described in
this section.