


Part No. 99-00984-20 REV A0
37 | CHAPTER 5 – MAINTAINING AND TROUBLESHOOTING YOUR SMART BOARD
685ix INTERACTIVE WHITEBOARD SYSTEM
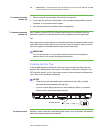
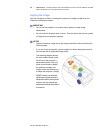
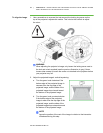
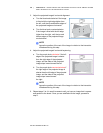
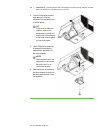
To align the image 1. Use a screwdriver to unscrew (but not remove) the locking ring screw on the
top of the projector’s adjustment module. This unlocks the controls to adjust
the mirror.
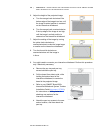
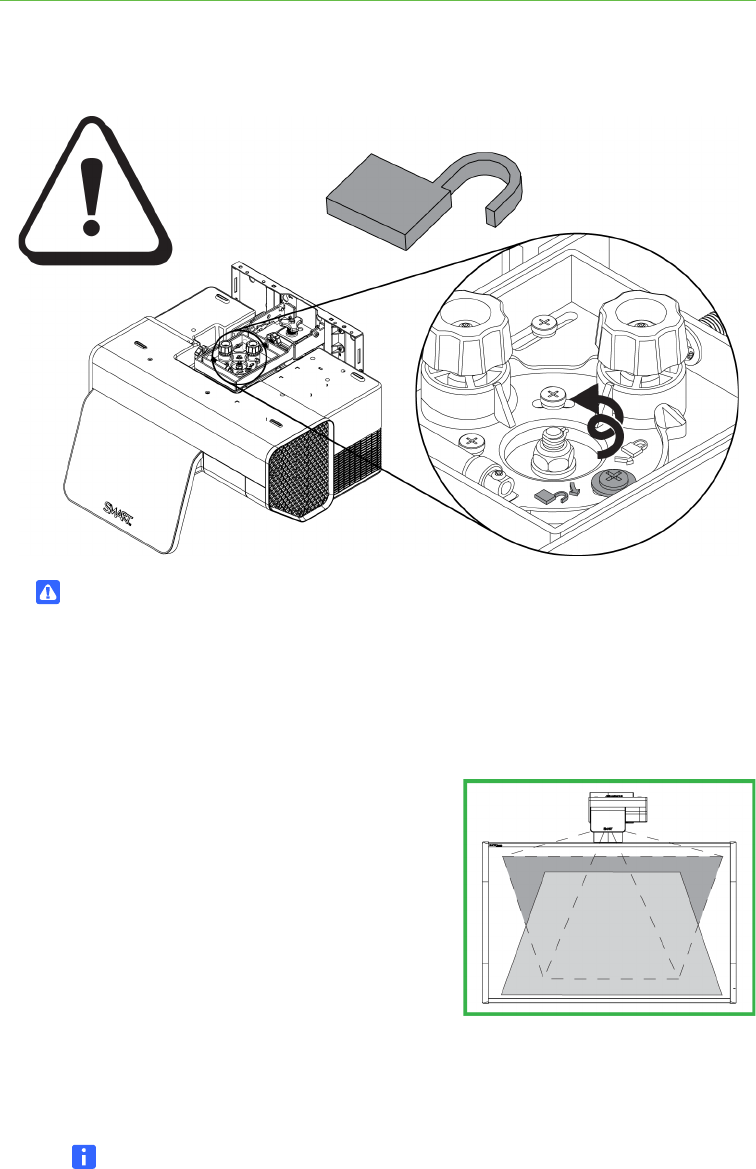
WARNING
When adjusting the projector’s image, only loosen the locking screw next to
the lock and unlock symbols (see the previous illustration in grey). Never
loosen other screws or loosen the center nut attached to the projector bolt as
your projector may fall.
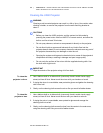
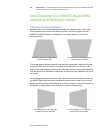
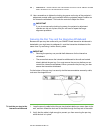
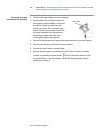
2. Adjust the projected image’s vertical keystoning.
a. Turn the green knob clockwise if the
bottom edge of the projected image is
narrower than the top edge of the
projected image, and the sides of the
projected image slope inward toward
the bottom of the projected image.
b. Turn the green knob counterclockwise
if the bottom edge of the projected
image is wider than the top edge of the
projected image, and the sides of the
projected image slope outwards toward
the bottom of the projected image.
NOTE
Ignore the position of the rest of the image in relation to the interactive
whiteboard during this step.