Operation
Making Full-Size Image Printouts
17
Operation
Making Full-Size Image
Printouts
This section explains how to make a full-size image
printout. The operations described here constitute the
basic procedure for making a printout.
Before making a full-size image printout
• All connections should have already been made. (See
page 10.)
• Ensure that the appropriate ink ribbon/paper set is
being used and that they are correctly loaded. (See
pages 13, 14 and 57.)
• Select the input signal to be used to make a printout.
(See page 15.)
• Set the printer to capture one full-size image into
memory. (See page 26.)
• Select the appropriate memory page. (See page 24.)
• Confirm the printout color quality (using, for example,
the LOAD COLOR number). (See page 45.)
1
Turn on the video monitor and the printer.
2
Start the video source to display the source image
on the video monitor.
This operation is done using the controls of the
video equipment acting as the source.
3
Press the CAPTURE button at the instant the image
you want to print appears on the screen.
The image is captured into memory. The memory
image is displayed on the screen. Which image
appears after this, the source image or the memory
image, depends on the setting made with the
FUNCTION SETUP facility of the printer. (See
page 27.)
If the captured image is blurred
A quickly moving image may be blurred when
captured. Should this occur, change the memory
mode setting to FIELD, then print it again.
Although the blur should be eliminated, the
ultimate print quality will be slightly degraded.
Select the FIELD mode on the LAYOUT SETUP
menu. (See “Selecting the memory mode” on page
24.)
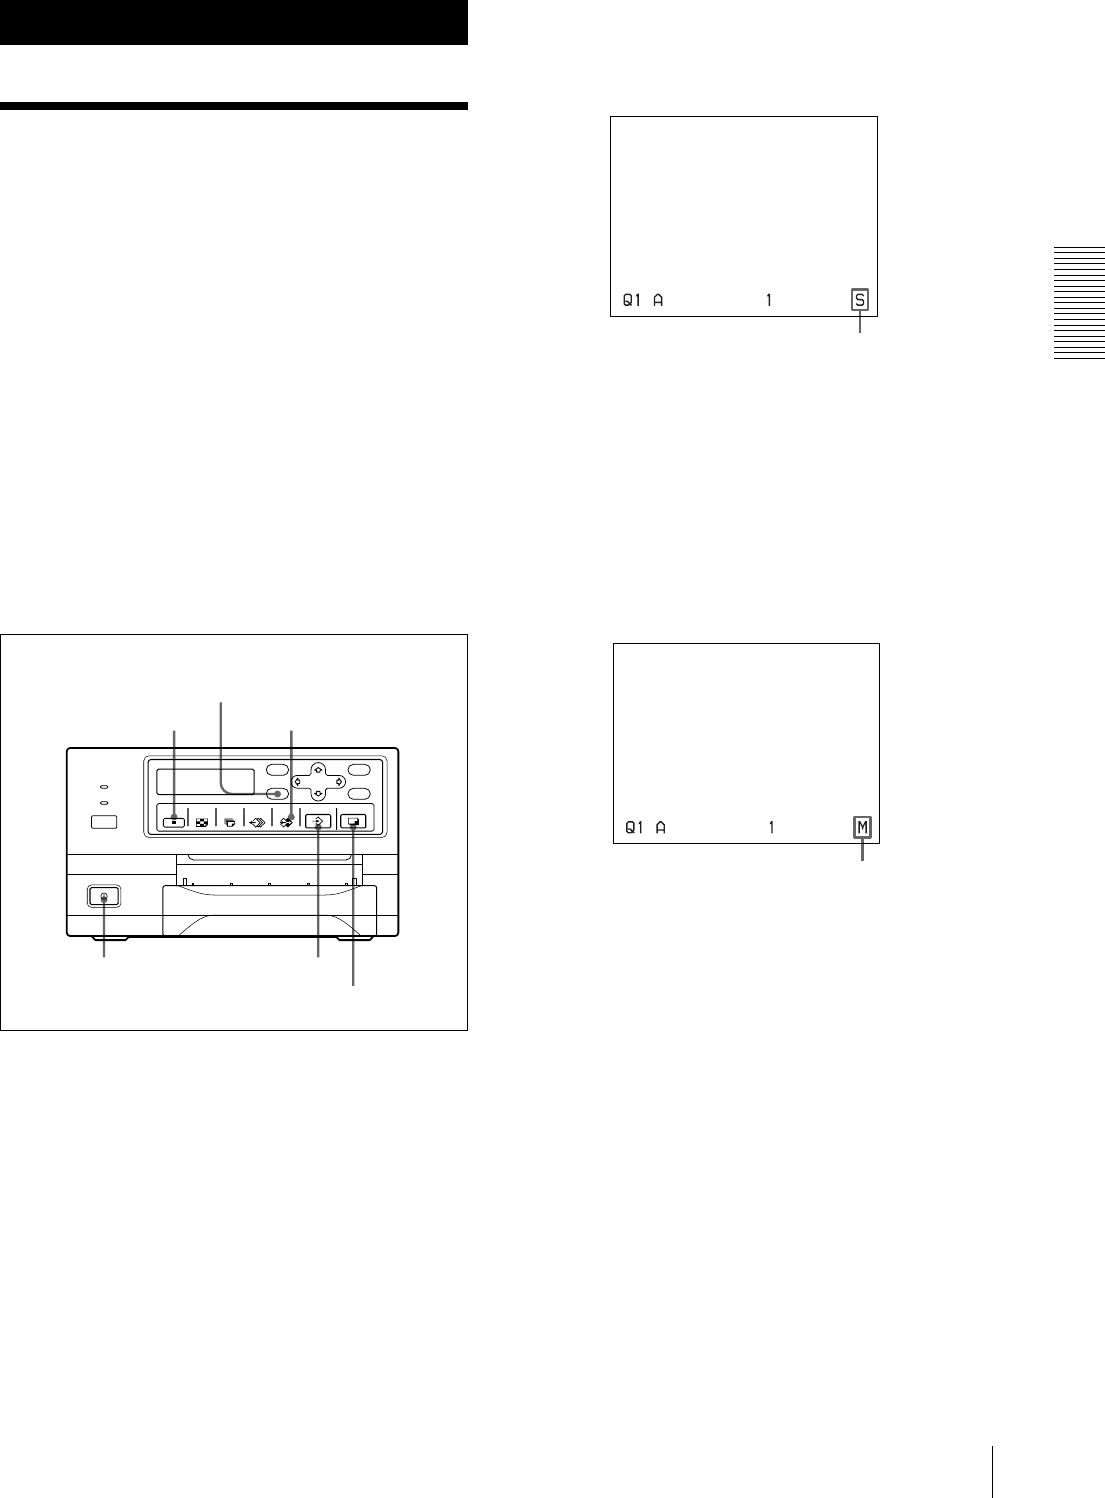
1
3
4
DISPLAY button
SOURCE MEMORY buttonSTOP button
Shows that an image from the source equipment is
currently displayed on the screen.
Shows that an image captured in memory is
displayed on the monitor.


