Operation
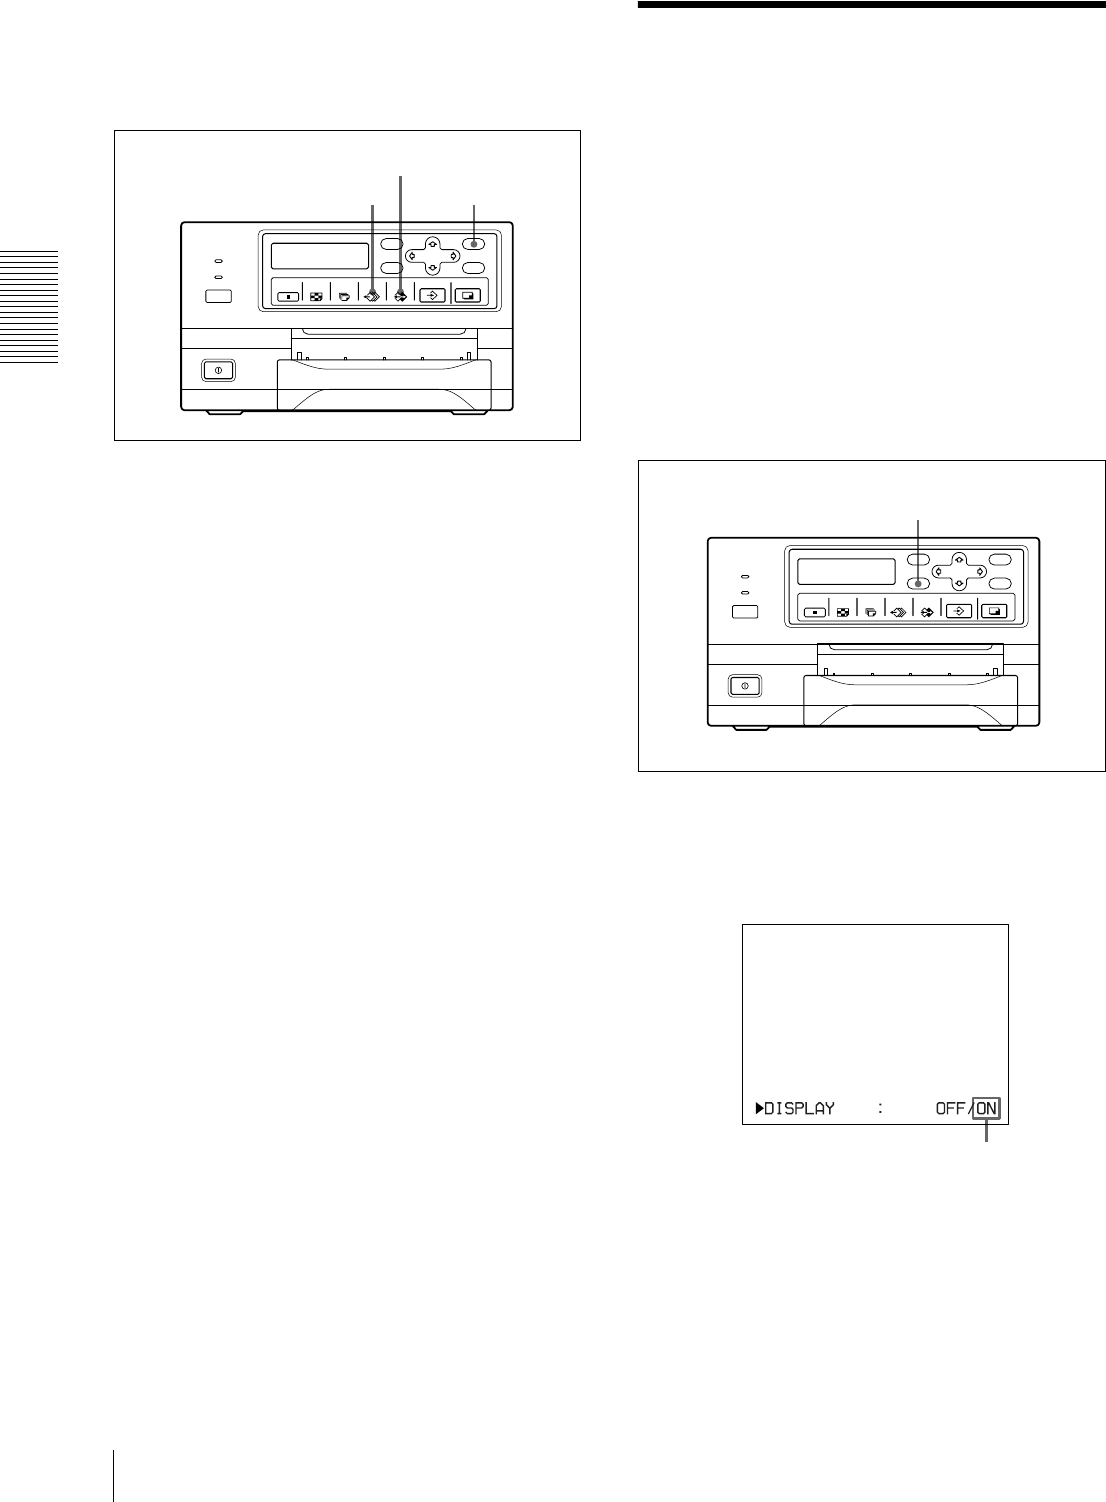
Erasing the Screen Display on the Video Monitor
36
Deleting images in a certain memory
page
Before deleting images
Set CLEAR to PAGE in the FUNCTION SETUP menu.
1
Press the SOURCE/MEMORY button when the
source image is displayed on the video monitor
screen.
The image captured in memory is displayed on the
screen.
2
Select the memory page from which images are to
be deleted by pressing the MEMORY PAGE
button.
3
Press the CLEAR button.
The image in the memory page selected in step 2 is
deleted.
Erasing the Screen
Display on the Video
Monitor
You can erase characters displayed on the video monitor
(Q1, A and so on) when, for example, it is hard to see the
image that is hidden behind the screen display. The
printer operation is the same, regardless of whether
those characters are displayed on the video monitor.
Since the same characters are displayed in the printer
window display for the UP-21MD, perform operations
watching them in the printer window display.
For detailed information on displaying the type and
remaining amount of the ink ribbon, see “Displaying the
Type and Remaining Amount of the Ink Ribbon” on
page 54.
1
Press the DISPLAY button.
The current setting appears. The video monitor
screen is reset to the regular screen after a few
seconds.
2
Select OFF.
While the screen which appears in step 1 is
displayed, press the DISPLAY button repeatedly
until the color of OFF turns green on the video
monitor, or until OFF is displayed in capital letters
in the printer window display (for the UP-21MD).
1
23
1, 2
The currently selected setting is lit in green.
