


Operation
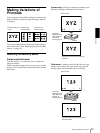
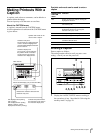
Making a Printout of Multiple Different Reduced Images
27
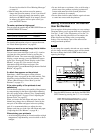
Deciding which image is displayed on the
video monitor screen after capturing an
image
You can switch image displayed on the video monitor
screen after capturing an image, a memory image or a
source image.
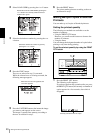
1
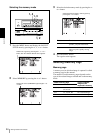
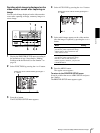
Display the PRINTER SETUP menu according to
the operations of step 1 described in “Making
Printouts with the Desired User Set Number” on
page 19.
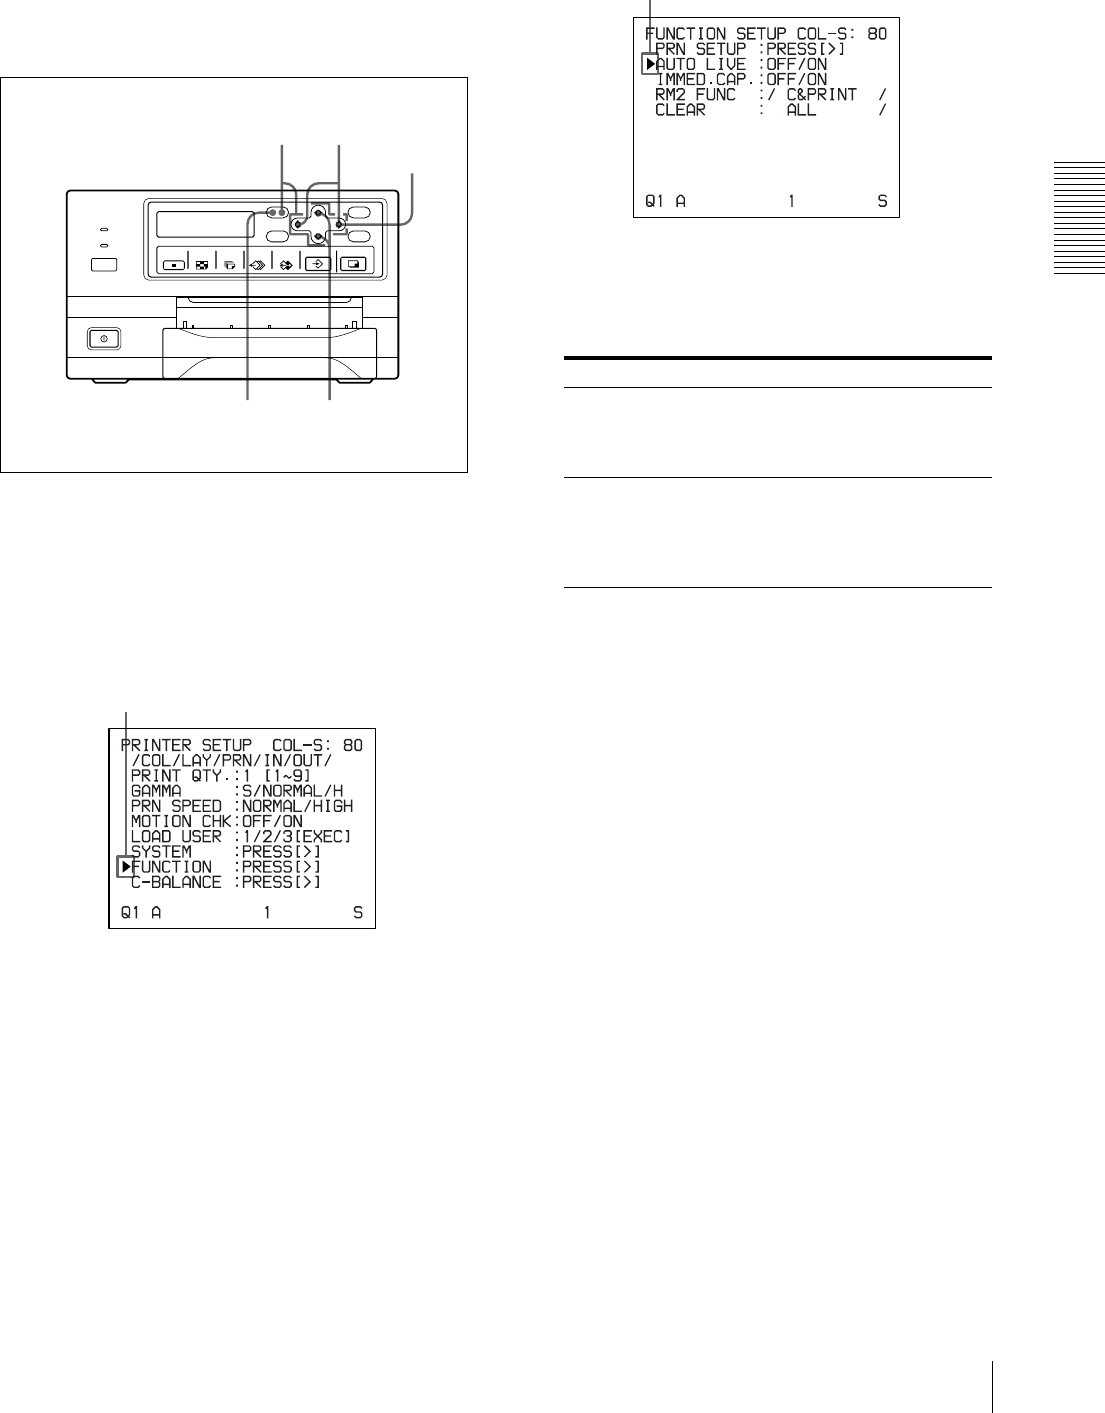
2
Select FUNCTION by pressing the F or f button.
3
Press the g button.
The FUNCTION SETUP menu appears.
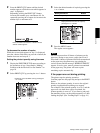
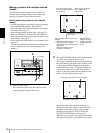
4
Select AUTO LIVE by pressing the F or f button.
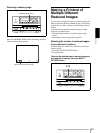
5
Select which image appears on the video monitor
after the image is captured, by pressing the G or g
button.
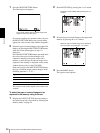
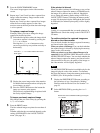
6
Press the MENU button.
The regular screen appears.
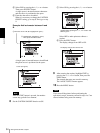
To return to the PRINTER SETUP menu
In step 6, position the cursor at PRN SETUP and press
the g button.
The PRINTER SETUP menu appears again.
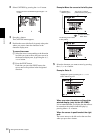
2, 4
1
5
3
6
Position the cursor at FUNCTION by pressing the F
or f button.
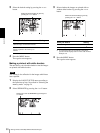
When Setting
The image captured in memory appears
just after the printer captures the image,
and the memory image remains on the
video monitor screen.
OFF
The image captured in memory appears
just after the printer captures the image,
then after a few seconds, the source
memory appears, whenever you press the
CAPTURE button.
ON
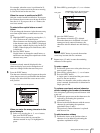
Position the cursor at AUTO LIVE by pressing the F
or f button.