Non-Chassis Field Replaceable Units (FRUs) E-21
E
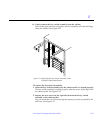
Caution – DO NOT FORCE the key switch adapter assembly into the slot; this
can cause damage to the assembly and system.
The key switch adapter assembly should insert and seat smoothly. If it
binds, remove it, and inspect the slot for any obvious obstructions. Do not
damage the springfingers at the bottom of the assembly.
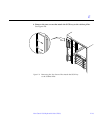
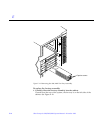
2. Tighten the two captive screws on the bottom that secure the key switch
adapter assembly to the cabinet.
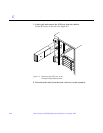
3. Connect the cable assembly to the front of the key switch adapter
assembly.
4. Power on the Enterprise 6000 system.
See the power on instructions in Chapter 12, “Powering Off and On.”
E.1.8 Fan Tray Assembly, 200/240V
To remove the fan tray assembly:
1. Completely power off the Enterprise system.
See the power off instructions in Chapter 12, “Powering Off and On.”
2. Locate the fan tray assembly at the back of the system.
Viewed from the rear of the system, the fan tray is on the left side of the
cabinet. It includes two connectors and a switch.
3. Disconnect the cables from the fan tray assembly.
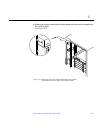
4. Loosen the two captive screws on the left side that secure the fan tray
assembly to the cabinet.
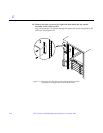
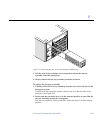
5. Pull and slowly remove the fan tray assembly from the cabinet.
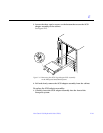
See Figure E-14.
!


