


Installing customized system software
Custom installation allows you to select a combination of system
files for your specific needs. You can also use custom installation
to install or update a single file, or to save space on your hard disk
by installing only the files you want.
To install from floppy disks, begin with step 1; to install over a
network, open the Installer program and begin with step 4.
Make sure the system software you’re using is compatible with
your computer.
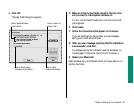
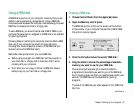
1. Shut down your Macintosh.
2. Insert the Install disk into the floppy disk drive.
3. Turn on your Macintosh.
The Installer program opens automatically.
4. Click OK.
The Easy Install dialog box appears.
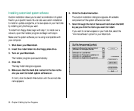
5. Make sure that the hard disk named in the box is the
one you want to install system software on.
If it isn’t, click the Switch Disk button until the correct disk
name appears.
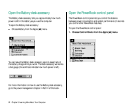
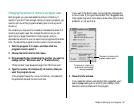
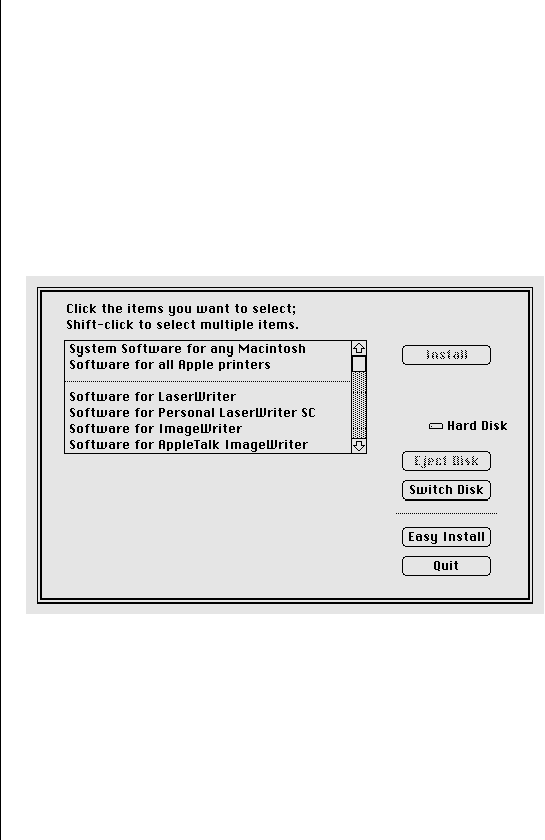
6. Click the Customize button.
The custom installation dialog box appears. All available
components of the system software are listed.
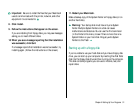
7. Scroll through the list of items and hold down the Shift
key as you click the items you want to install.
If you want to conserve space on your hard disk, select the
“minimal software” option for your Macintosh.
90 Chapter 6: Setting Up Your Programs