


Installing system software
System software is a set of programs that your computer uses to
start up and operate. To install system software on your hard disk,
follow these steps.
You do not need to install system software if you see the
Macintosh desktop on your screen when you turn on the
computer.
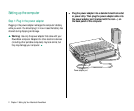
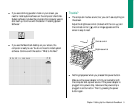
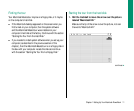
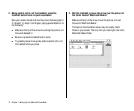
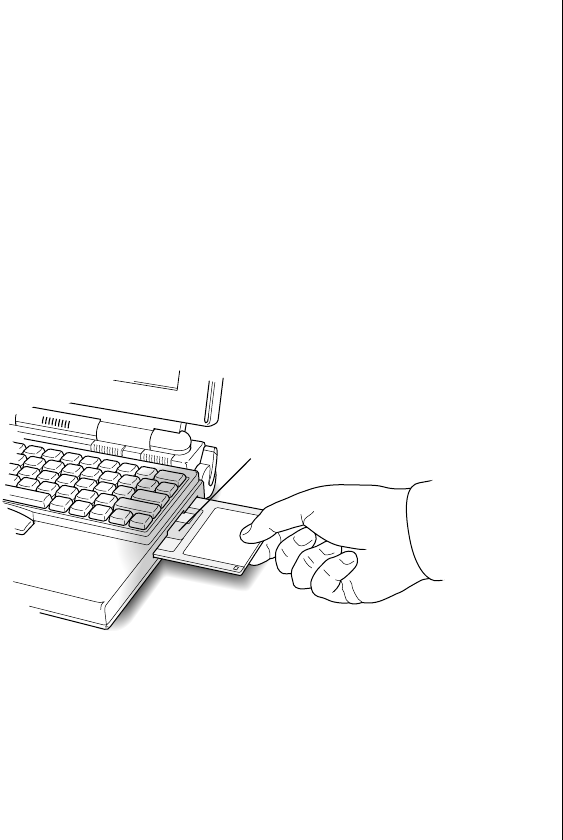
1. Find the Install disk provided with your computer.
Insert the disk into the floppy disk drive (metal end
first, label side up).
After a few moments, you’ll see the Welcome box of the
Installer, the program that installs system software on your
hard disk.
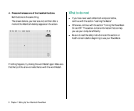
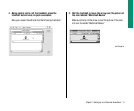
2. Press the Return key on your keyboard to continue.
The Easy Install dialog box appears. Easy Install puts the
system software that you’ll need right away onto your hard
disk.
3. Press the Return key again to start installing system
software.
Messages on your screen report how installation is
progressing.
4. When the computer prompts you, remove the Install
disk and insert the next disk the computer requests.
During installation, the computer automatically ejects a disk it
has finished with and requests the next disk it needs.
5. Insert the remaining disks as the computer
prompts you.
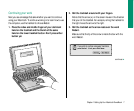
6. When you see a message reporting that installation was
successful, press the Return key once more to quit the
Installer program.
If you see a message saying that installation was not
successful, you need to try again. Follow the instructions on
the screen.
Insert metal end first.
6 Chapter 1: Setting Up Your Macintosh PowerBook