E
16
■ To create a new tape label
1. Press to turn on the printer.
• A LAST DATA icon will also appear on the Main Menu if there is input
data left over from the last time you used the printer. If you want to continue
working with the data from your previous session, use and to
select LAST DATA, and then press SET.
2. Use and to select TAPE, and then press SET.
• You can also press TAPE here.
3. Use and to select NEW, and then press SET.
• This displays a label mode selection screen.
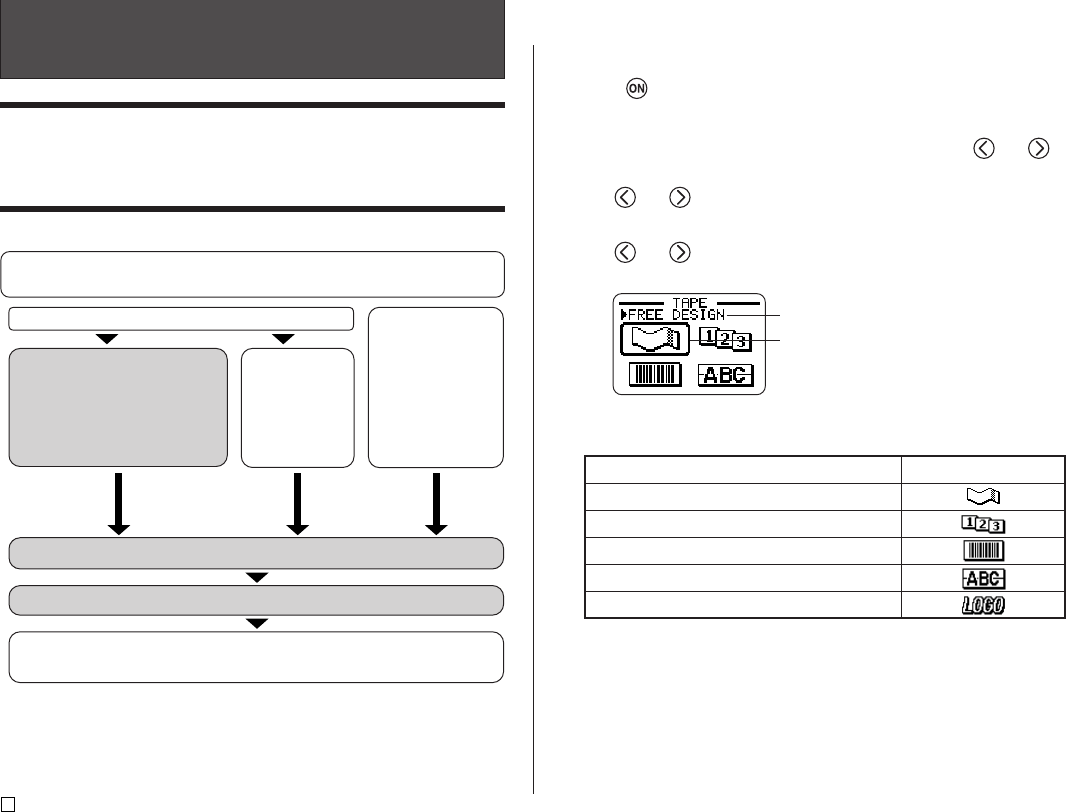
4. Use the cursor keys to move the selection boundary to icon for the label
mode you want to use.
Shows the function of the currently selected
icon.
Part 2 - TAPE Mode
Creating a Tape Label
The following are the general steps when preparing data for printing a tape
label.
Getting Ready
• Connect the AC adaptor or load batteries (page 7 of the Startup Guide).
• Load a tape cartridge (page 13 of the Startup Guide).
1. Select the label mode.
Free Design ...........page 22
Numbering Label ...page 17
Barcode Label .......page 36
Enlarged Label ......page 19
Logo Label ............page 20
2. Input the text you want (page 41).
3. Select the font (page 50) and the style (page 52).
To edit an
existing label,
select
STORED
DATA (page
54).
To edit the label
data you were
working on the last
time you were
using the printer,
select LAST DATA
(page 10 of the
Startup Guide).
Print the label (page 23 of the Startup Guide) and store it in memory
(page 54), if you want.
Select the TAPE Mode (page 16).
Selection boundary
5. After you select a mode, press SET.
6. What you should do next depends on the label mode you selected in step
4. See the pages referenced in the table under step 4 for more information.
To create this type of tape label:
Original (Free Design) tape label (page 22)
Sequentially numbered tape label (page 17)
Barcode tape label (page 36)
Large tape label (page 19)
Tape label with logo (page 20)
Select this icon:


