29
E
FREE DESIGN: Aligning Tape Label Text
This section explains how to align tape label text within a block and how to
align blocks within a tape label.
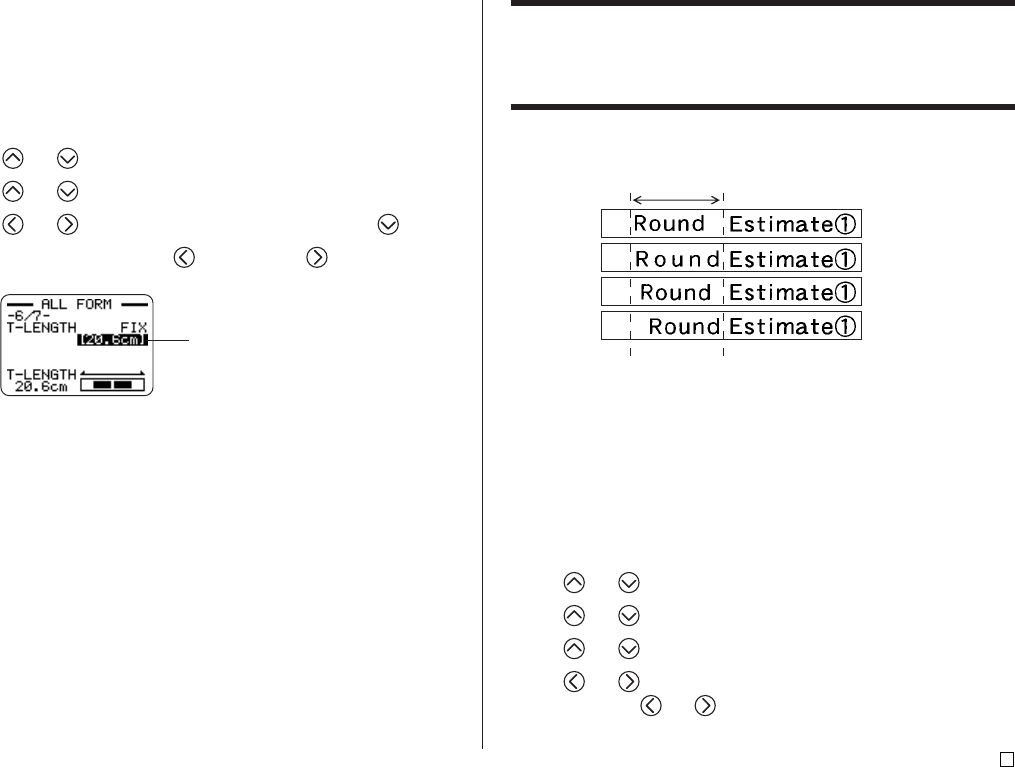
Example 1: Aligning the term “Round Estimate
11
11
1” in
a block (fixed block length)
LEFT
EQUAL
CENTER
RIGHT
■ To align tape label text
1. In the Free Design Mode, input the text you want, and divide it into blocks
as required.
• See page 22 for information about blocks.
2. Move the cursor the block whose text you want to align, and then press
FORM.
• Here we will move the cursor to the block that contains “Round”.
• If your label has only one block, advance directly to step 5 of this
procedure.
3. Use and to select BLOCK FORM, and then press SET.
4. Use and to select ONE BLOCK, and then press SET.
5. Use and to scroll to the ALIGN setting screen.
6. Use and to select the alignment setting you want.
• Each press or and cycles the setting between EQUAL, CENTER,
RIGHT, and LEFT.
■To control the overall label length using a fixed tape
length
1. In the Free Design Mode, input the text you want.
2. Press FORM.
• If your label has only one block, advance directly to step 4 of this
procedure.
3. Use and to select ALL FORM, and then press SET.
4. Use and to scroll to the T-LENGTH setting screen.
5. Use and to change the setting to FIX, and then press .
6. Use the number keys, or the (decrease) and (increase) keys to
change the label length setting.
• The appearance of the tape length value on the display will change in
accordance with your setting as described below.
Length value becomes highlighted.
[20.6cm]
Label can be printed
as specified.
➜
20.5cm]
Label will be printed but the tape length
will be longer than specified.
➜
