E
22
Creating and Printing an Original (Free Design)
Tape Label
This section describes what you can do with the Free Design mode of the
printer, which lets you design your own tape labels. All of the following sec-
tions whose titles start with “FREE DESIGN:” indicate features and functions
that are available in the Free Design mode only.
■ To create a basic Free Design
1. Press to turn on the printer.
2. Use and to select TAPE, and then press SET.
• You can also press TAPE here.
• A LAST DATA icon will also appear on the Main Menu if there is input
data left over from the last time you used the printer.
3. Use and to select NEW, and then press SET.
4. Use the cursor keys to select , and then press SET.
• This enters the Free Design Mode.
5. Use the procedures described in the following “FREE DESIGN” sections
to layout your label and input text.
FREE DESIGN: Using Text Blocks
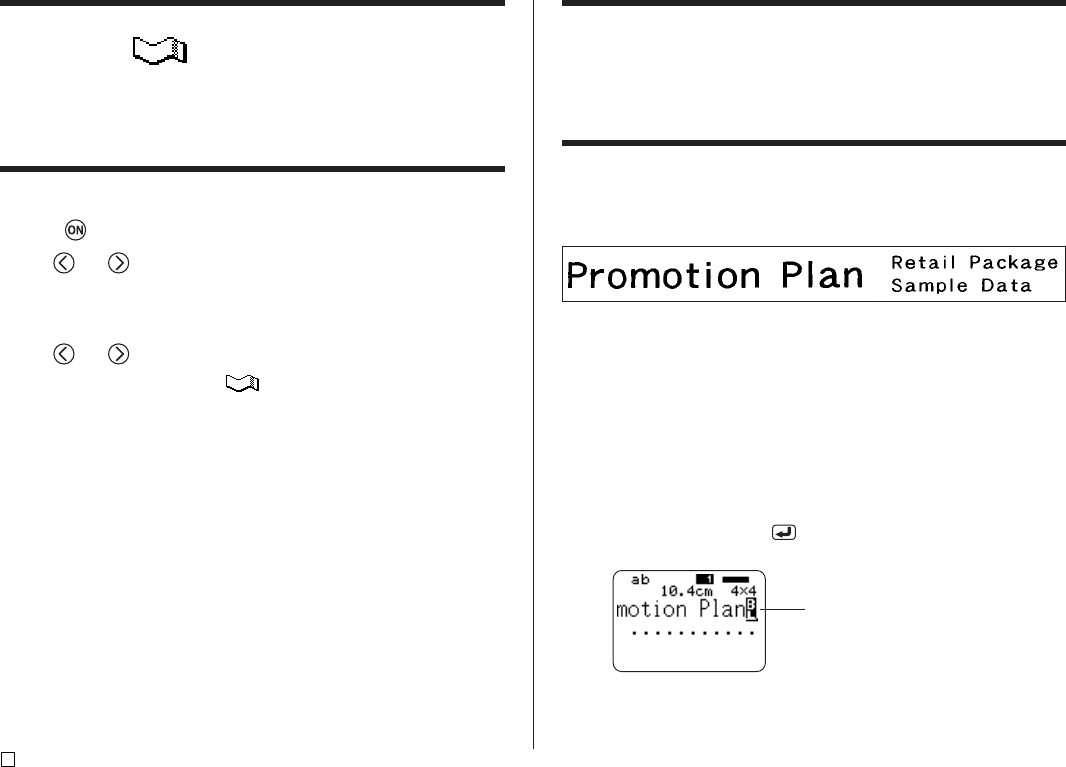
In the example label shown below, “Promotion Plan” and “Retail Package Sam-
ple Data” are independent units called “text blocks,” or simply “blocks.” You can
divided your tape label text into blocks and then apply the following settings
on a block-by-block basis.
• Number of text lines (page 23)
• Text alignment (page 25)
• Character pitch (page 25)
• Block length (page 25)
Block 1 Block 2
• Two lines (page 23)
■ To layout a tape label using blocks
Example
To layout “Promotion Plan” and “Retail Package Sample Data” as separate
blocks within the same tape label
1. In the Free Design Mode, input the text for the first block.
• Here we will input “Promotion Plan”.
2. Press FUNCTION and then .
• This inputs a “block mark,” which makes the text to the left of a block.
Block mark
Block marks appear on the display only.
They are not printed on the tape.
