21
E
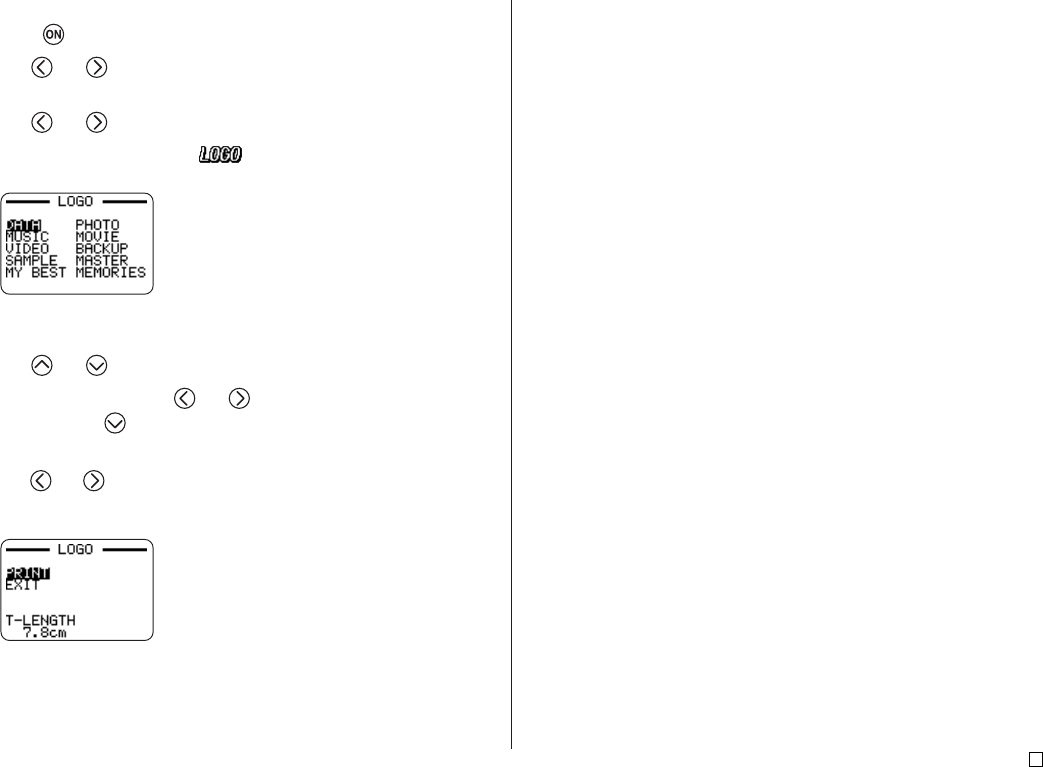
■ To create and print a label with a logo
1. Press to turn on the printer.
2. Use and to select TAPE, and then press SET.
• You can also press TAPE to enter the TAPE Mode.
3. Use and to select NEW, and then press SET.
4. Use the cursor keys to select , and then press SET.
• This enters the Logo Mode.
5. Use the cursor keys to select the logo you want to use, and then press
SET.
6. Use and to select PRINT, and then press SET.
7. Use the number keys (or and ) to specify the number of copies,
and then press .
• You can specify a value from 1 to 100 for the number of copies.
8. Use and to select the tape cut mode (page 38), and then press SET.
• This starts the print operation. The screen shown below appears when
printing is complete.


