E
30
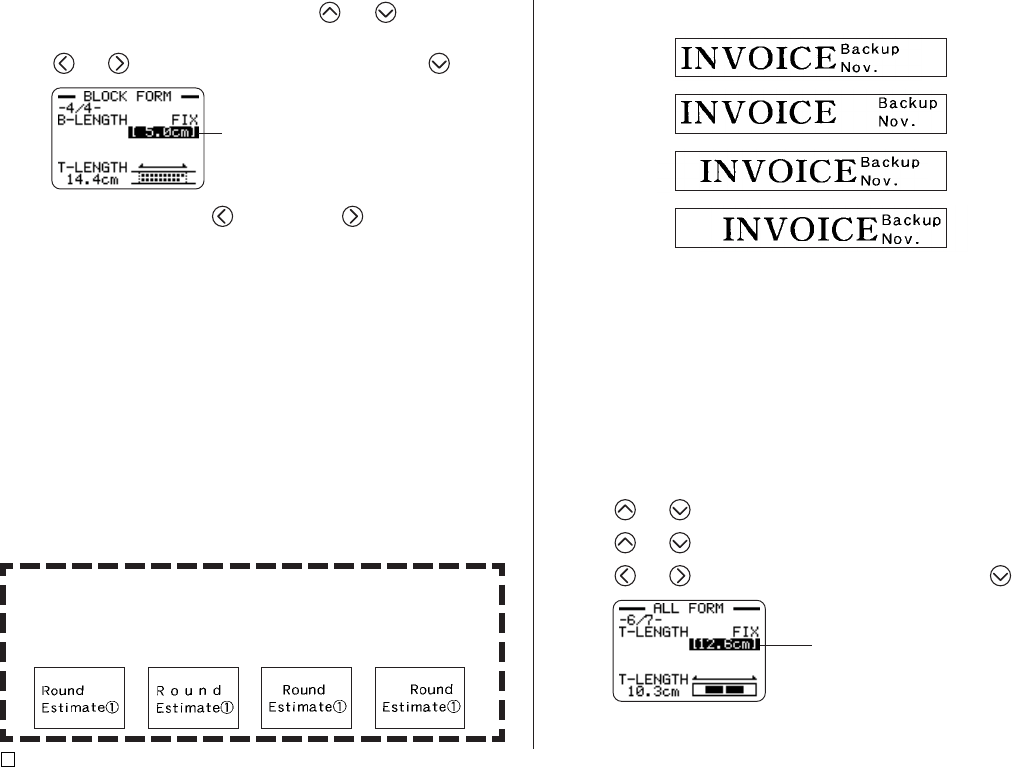
Example 2: Aligning blocks within a tape label
LEFT
EQUAL
CENTER
RIGHT
Important!
• The block alignment setting is applied only when FIX is selected for the
T-LENGTH setting.
■ To align blocks within a tape label
1. In the Free Design Mode, input the text you want, and divide it into blocks
as required.
• See page 22 for information about blocks.
2. Press FORM.
• If your label has only one block, advance directly to step 4 of this
procedure.
3. Use and to select ALL FORM, and then press SET.
4. Use and to scroll to the T-LENGTH setting screen.
5. Use and to change the setting to FIX, and then press .
7. After selecting the alignment setting, use and to scroll to the
B-LENGTH setting screen.
8. Use and to change the setting to FIX, and then press .
9. Use the number keys, or the (decrease) and (increase) keys to in-
crease the length of the block, and then press SET.
Length value becomes
highlighted.
• If a block contains multiple lines, you can also align its text using the
B-LENGTH AUTO setting. In this case, alignment will be performed
on the shorter line of text as shown below.
LEFT EQUAL CENTER RIGHT
Length value becomes
highlighted.
