


E
20
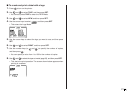
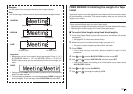
10.The screen shown here appears after printing of the last piece is com-
plete.
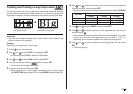
Combine the tapes to create the large label.
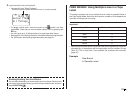
• If you use the above procedure to print on 18mm or 24mm tape, the
tapes that are output will have blank margins along the bottom and/or
the top of the upper tape and the top and/or the bottom of the lower tape.
You will need to trim off these margins before combining the tapes.
Another way to deal with margins is to use transparent tape. Then you
can combine them without trimming, by laying one of the tapes over the
other.
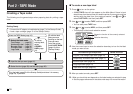
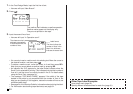
Controlling the Appearance of Your Labels
In step 5 of the basic procedure described above, you can also configure
the following settings to control the appearance of your label.
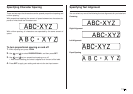
• Direction (horizontal or vertical)
• Mirror printing (off or on)
See page 25 for information about how to configure these settings.
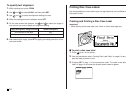
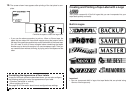
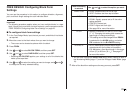
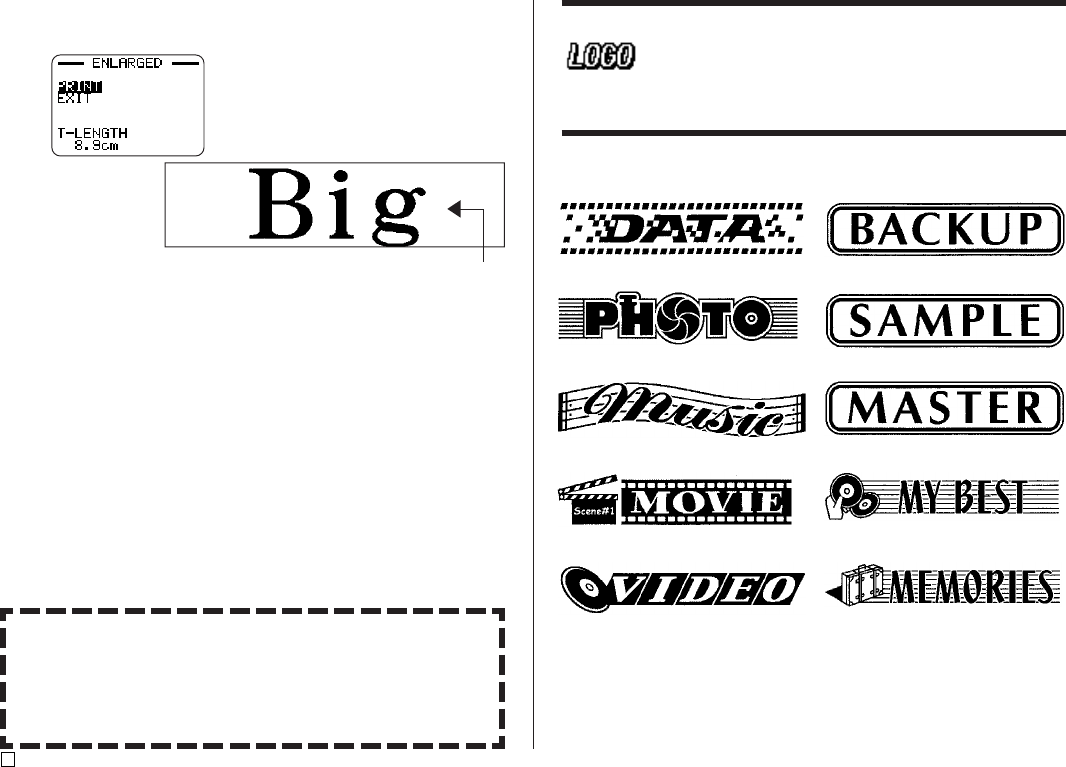
Creating and Printing a Tape Label with a Logo
Your printer comes with 10 built-in logos that you can incorporate into your
tape labels quickly and easily.
Built-in Logos
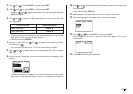
Important!
• You can incorporate built-in logos into tape labels that are printed using
18mm or 24mm tape only.