


Implementing OSPF on Cisco IOS XR Software
How to Implement OSPF on Cisco IOS XR Software
RC-240
Cisco IOS XR Routing Configuration Guide
OL-14356-01
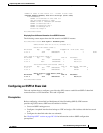
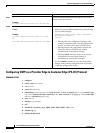
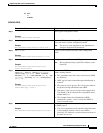
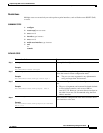
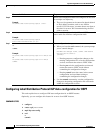
Configuring OSPF as a Provider Edge to Customer Edge (PE-CE) Protocol
SUMMARY STEPS
1. configure
2. router ospf process-name
3. vrf vrf-name
4. router-id {router-id}
5. redistribute protocol [process-id] {level-1 | level-1-2 | level-2} [metric metric-value] [metric-type
type-value] [match {internal | external [{1 | 2} | nssa-external {1 | 2}] [tag tag-value] [route-map
map-tag | route-policy policy-tag]
6. area area-id
7. interface type instance
8. exit
9. domain-id [secondary] type {0005 | 0105 | 0205 | 8005} value value
10. domain-tag tag
11. disable-dn-bit-check
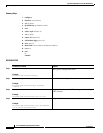
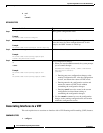
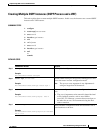
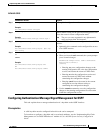
Step 7
ipv4 mtu mtu
Example:
RP/0/RP0/CPU0:router(config-if)# ipv4 mtu 300
Sets the maximum transmission unit (MTU) size of IPv4
packets sent on the interface.
Step 8
end
or
commit
Example:
RP/0/RP0/CPU0:router(config-ospf-ar-if)# end
or
RP/0/RP0/CPU0:router(config-ospf-ar-if)# commit
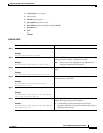
Saves configuration changes.
• When you issue the end command, the system prompts
you to commit changes:
Uncommitted changes found, commit them before
exiting(yes/no/cancel)?
[cancel]:
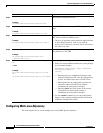
–
Entering yes saves configuration changes to the
running configuration file, exits the configuration
session, and returns the router to EXEC mode.
–
Entering no exits the configuration session and
returns the router to EXEC mode without
committing the configuration changes.
–
Entering cancel leaves the router in the current
configuration session without exiting or
committing the configuration changes.
• Use the commit command to save the configuration
changes to the running configuration file and remain
within the configuration session.
Command or Action Purpose