


Dell
TM
XFR D630 Fully Rugged Notebook Service Manual
Page 19 of 106 Revision A01
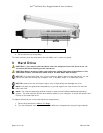
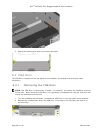
4. Tighten the screw, ensuring the screw head secures the stylus clip in place.
NOTE: If you relocate the stylus from one side of the handle to the other, remember to tighten
the screw that was loosened in step 1.
NOTE: The stylus clip can be installed on either the left or right side of the handle to allow for
right or left-handed use.
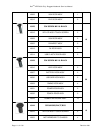
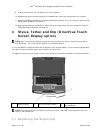
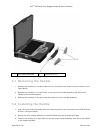
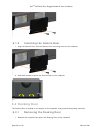
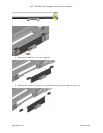
4.2 Replacing the Stylus
1
Stylus
2
Stylus tether (with loops on each end)
To replace the stylus:
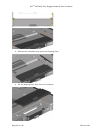
1. Remove the tether and stylus from the stylus clip:
a. At the stylus clip, loosen the looped end of the tether.
b. Pull the stylus and tether through the loop until the tether is free from the stylus clip.
2. Remove the stylus from the tether:
a. At the stylus, loosen the looped end of the tether.
b. Pull the stylus and tether through the loop until the stylus is free from the tether.
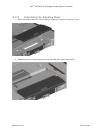
3. Install the new stylus:
a. Place one of the looped ends of the tether through the hole in the end of the new
stylus and then place the free end of the tether through the loop.
b. Pull the remainder of the tether through the loop until tight.
c. Your new stylus is now attached to the tether.
4. Attach the stylus and tether to the stylus clip:
a. Place the free end of the tether through the stylus clip.
b. Pull the stylus and tether through the loop until tight.
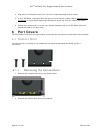
5 Handle
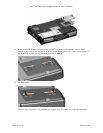
The XFR D630 is equipped with a factory installed handle. This section provides instructions for
removing and installing the handle if replacement is required.