11
Panel Descriptions
[KEY] Button
This switches the Key Composite effect on and off.
The [KEY] button lights when the effect is on.
☞
“Applying the Key Composite Effect” (p. 41)
TRANSITION Select Buttons
These select the effect to be applied when the video
images are switched. The selected button lights up.
☞
“Selecting the Effects To Be Applied in Switching” (p. 38)
●
WIPE [1
]–[4 ] Buttons
These buttons switch the video images by replacing the
current video with the subsequent video, which spreads
across the screen (wipe effect).
The time used in switching the video with the wipe effects
is specified with the [TRANSITION TIME] knob ( ).
●
[CUT] Button
Use this button to have video switch instantly.
●
[MIX] Button
This switches the video by gradually fading out the
previous video while fading in the subsequent video
image over it until the new video is fully visible (dissolve
effect).
The time used in switching the video is specified with the
[TRANSITION TIME] knob ( ).
[TRANSITION TIME] Knob
This sets the time (in seconds) taken in switching videos.
☞
“Selecting the Effects To Be Applied in Switching” (p. 38)
SD VIDEO 1–4 Indicators
These indicate the status of video signals input to the
S-VIDEO IN connectors (p. 12) or COMPOSITE IN
connectors (p. 12)
Channel Select Buttons
These switch the video images being input.
There are two ways to switch input video.
☞
“Switching Video” (p. 36)
●
SD VIDEO [1]–[4] Buttons
These switch the video being input to the S-VIDEO IN
connectors and COMPOSITE IN connectors.
●
HD/RGB [1]–[4] Buttons
These switch the video being input to the HD/RGB IN
connectors
HD/RGB 1–4 Indicators
These indicate the status of video signals input to the HD/
RGB IN connectors (p. 12).
[TAKE] Button
This takes the video currently being output from the
preview monitor connected to the HD/RGB OUT
PREVIEW connector (p. 12) and outputs it from the HD/
RGB OUT PGM connector.
Use this when switching video in Preset mode and to
display video with key composite and other special effects
applied.
☞
“Switching in Preset Mode” (p. 37)
☞
“Adding Effects to the Video” (p. 39)
[POWER] Switch
This switches the power on and off.
☞
“Turning the Power On” (p. 26)
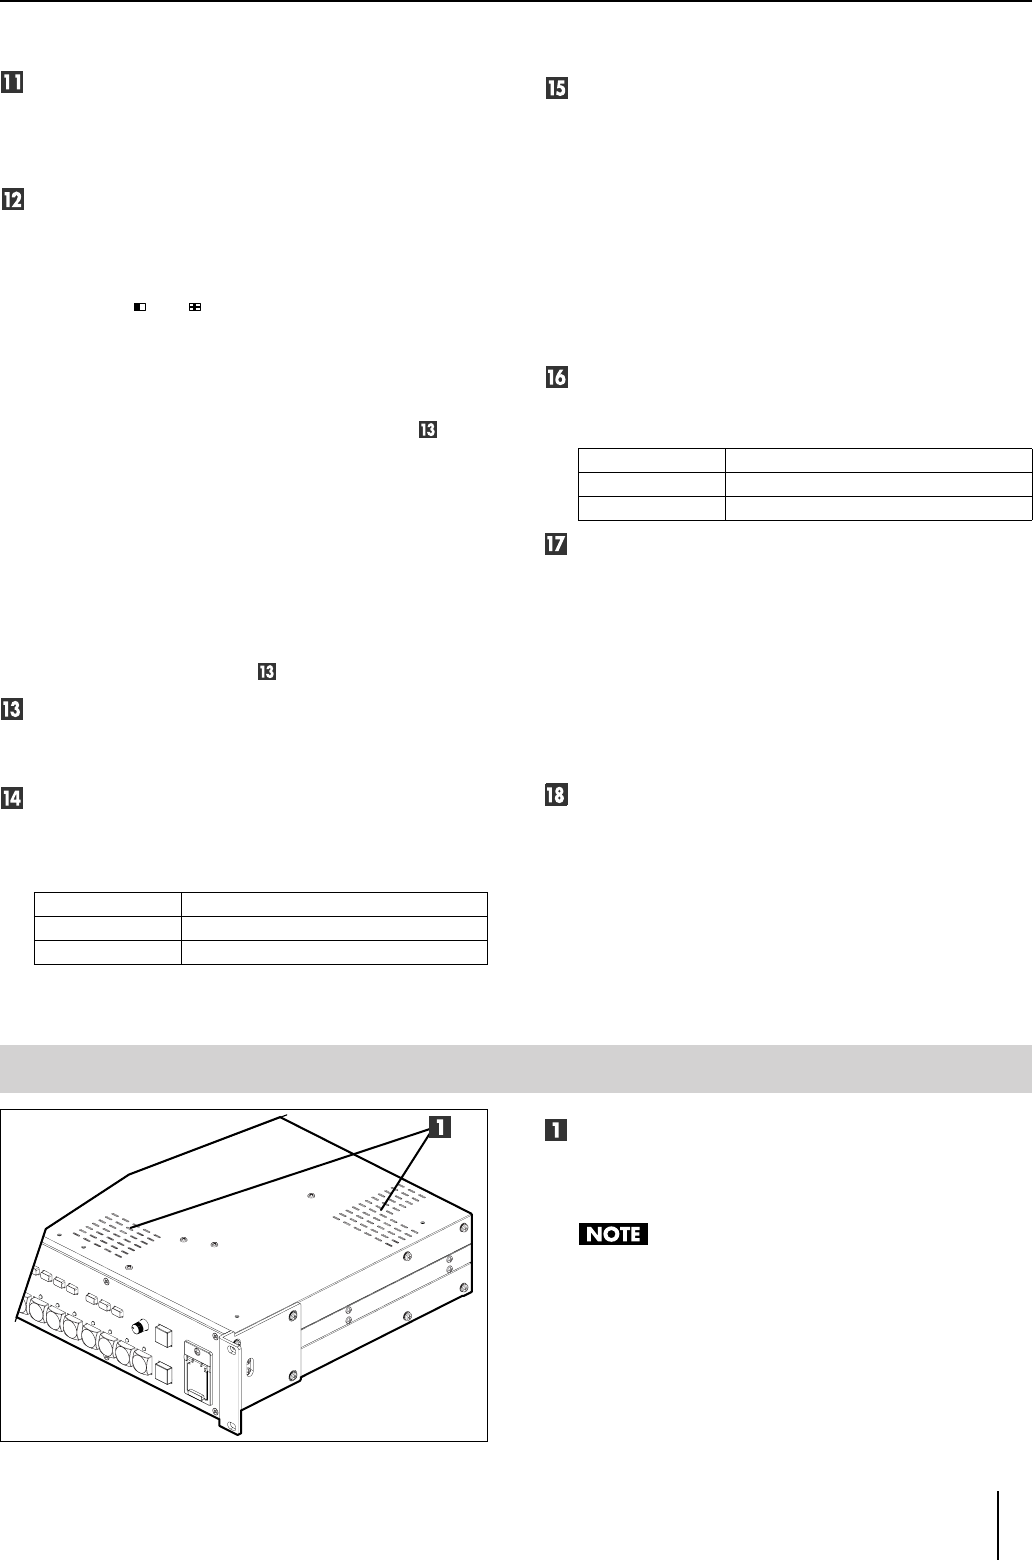
Cooling Fan Exhaust Vents
The V-44SW contains a cooling fan that prevents it from
overheating. The fan expels hot air through this exhaust
vents.
•
Do not allow the cooling fan exhaust vents to become
blocked. Obstruction of the vents will cause
temperatures inside the V-44SW to rise, and this heat
may result in damage to the unit.
Lit (Red)
Composite video signals input
Lit (Green) S-Video video signals input
Off No signals input
Lit (Red)
RGB signals input
Lit (Green) Component signals input
Off No signals input
Top Panel
V-44SW_e.book 11 ページ 2006年10月23日 月曜日 午後3時25分


