ROC827 Instruction Manual
Issued Mar-06 Installation and Use 2-11
Removing the backplane from the housing is not recommended, as there
are no field serviceable parts. If the backplane requires maintenance,
please contact your local sales representative.
2.5.1 Attaching an Expandable Backplane
To attach an EXP to an existing ROC827 base unit or to another EXP:
1. Remove the right-hand end cap from the ROC827 as described in
Section 2.3.1, “Removing and Replacing End Caps.”
Note: The EXP may not have attached end caps. If it does, remove the
left-hand end cap.
2. Remove the wire channel covers from the ROC827 as described in
Section 2.3.2, “Removing and Installing Wire Channel Covers.”
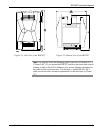
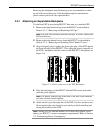
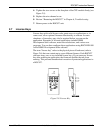
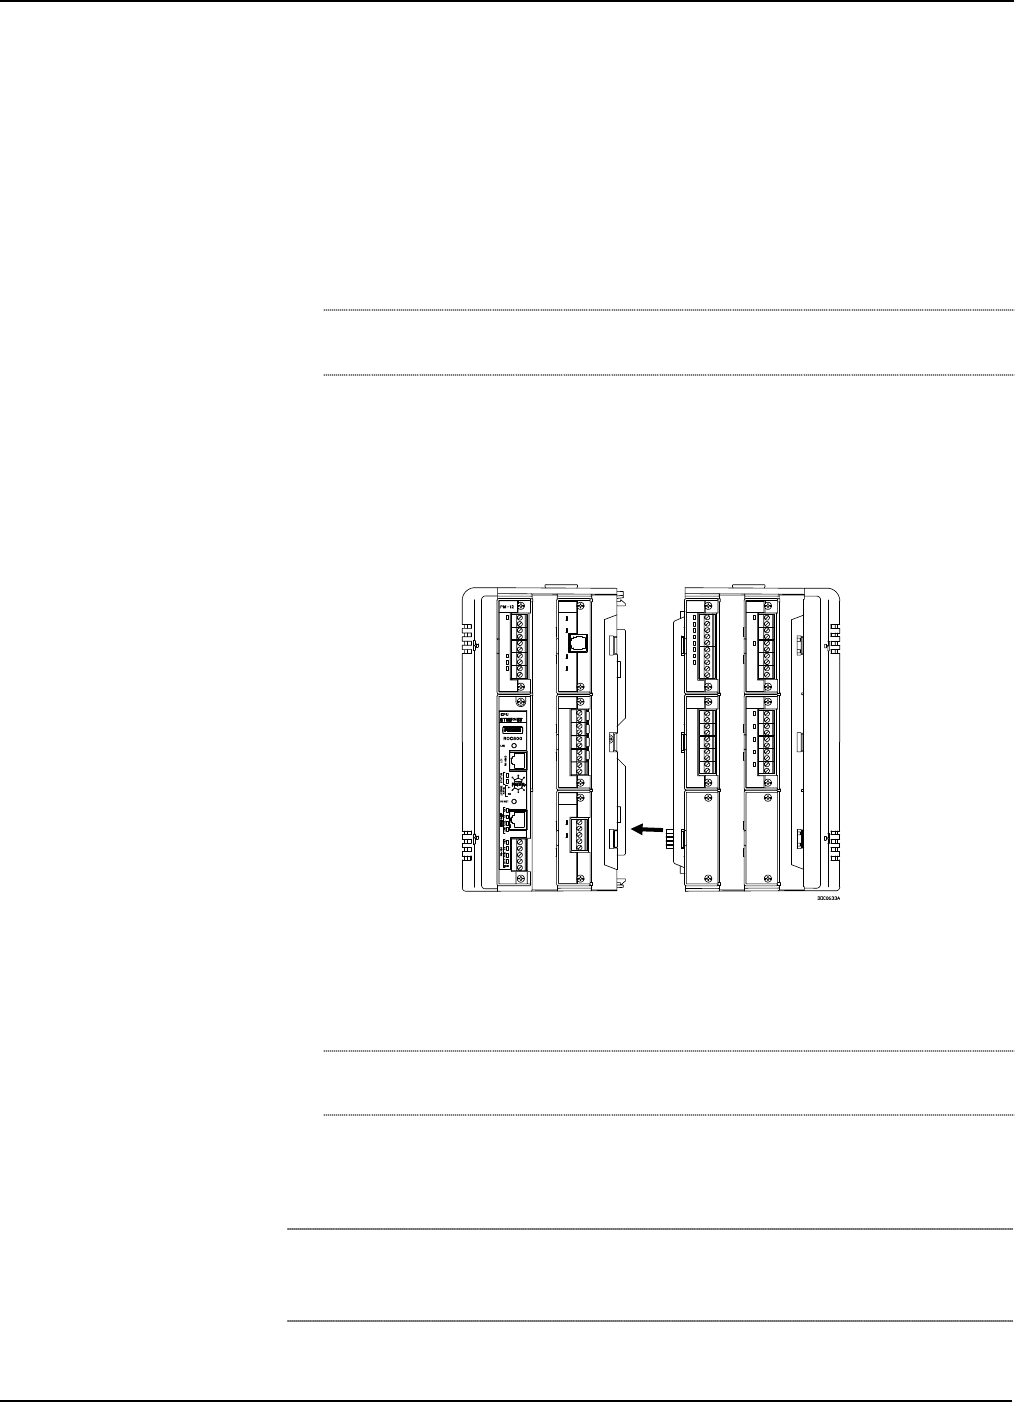
3. Align and gently press together the front right edge of the EXP against
the front left edge of the ROC827. This aligns the power connector on
the EXP’s backplane with the socket on the ROC827’s backplane (see
Figure 2-5).
Figure 2-5. Power connector on the EXP Backplane
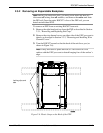
4. Pivot the back edges of the ROC827 and the EXP toward each other
until they click together.
Note: The plastic locking clips at the back of the EXP click when the
two units securely fasten together.
5. Attach an end cap to the right side of the EXP (if it does not have one).
Do not replace the wire channel covers until you finish installing and
wiring the modules in the EXP.
Note: Adding an EXP–and the modules it will hold–may require you to
adjust your ROC827’s power consumption requirements. Refer to Section
3.2, “Determining Power Consumption.”


