63
4
HOW TO USE THE OPERATION PANEL
■ Measurement
1
.
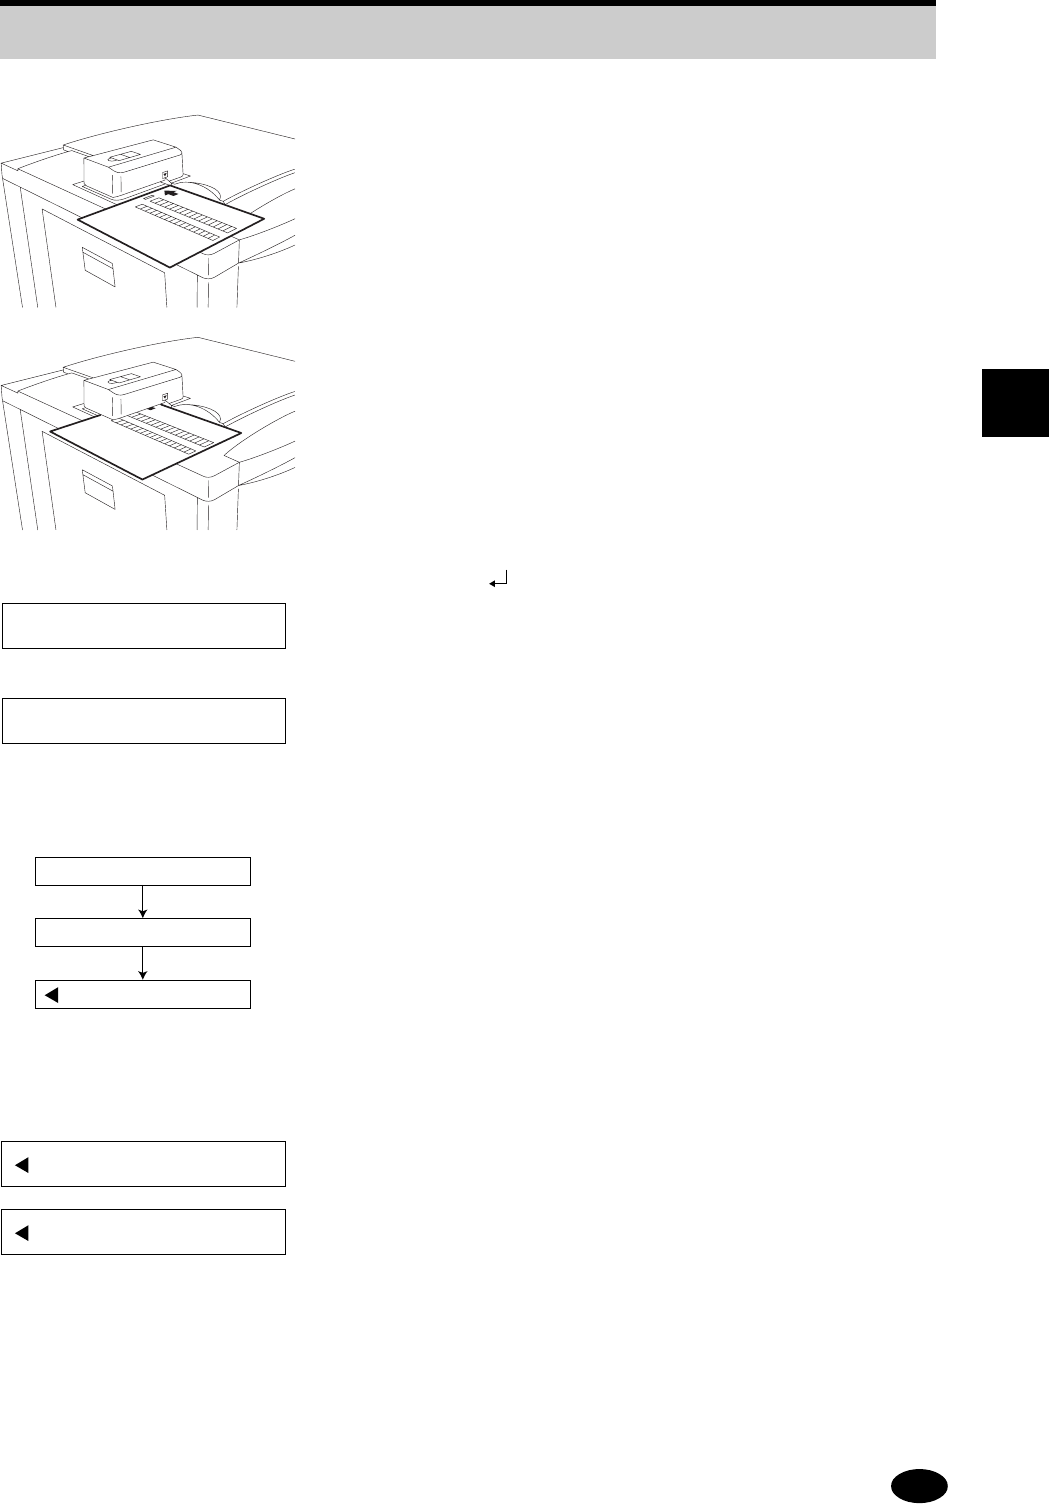
Align the calibration pattern with the arrow, then align it to
the right-hand end of the Auto-Calibrator insertion inlet.
Insert the calibration pattern so that it just touches the end
of the inlet.
2
.
Press the [ ] key.
★ The message changes to "Warming up", and the Auto-
Calibrator prepares to measure density.
★ When preparations for density measurement by the
auto-calibrator are complete, the message on the
operation panel changes to "Measuring" and density
measurement begins.
★ When measurement ends without problems, the
message on the operation panel changes to "Data
Receiving".
★ When communications are finished, the message
changes to "Computing", indicating that calibration
calculation is now underway.
★ When calibration calculation ends without problems, the
message changes to "Complete".
NOTE: ● If the calibration pattern is inserted in reverse or inclined,
the message "MarginError" or "NG Retry from Mesure
Density" is displayed. Press the [ESC] key and correctly
reinsert the calibration pattern.
● If "MarginError" is displayed even when the calibration
pattern is inserted correctly, the position of the pattern image
may have deviated significantly. See "4.8
Setting up the Print Image Position" to return the setting for
"Margin Control" to "0". Go back and create a new calibration
pattern.
3
.
Press the [ON LINE] key to return the machine to the ON
LINE mode.
4.13 Calibration (Standard Color Condition Setup)
Warmingup
Measure
Computing
Complete
Data Receiving
MarginError
NG Retry from Mesure Density


