


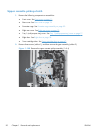
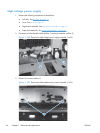
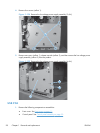

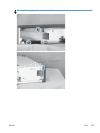

4. Remove four screws (callout 1).
Figure 1-154 Remove the low-voltage power supply assembly (3 of 4)
3
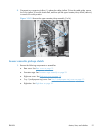
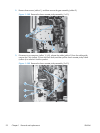
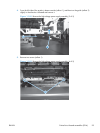
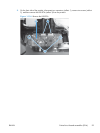
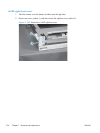
5. Remove one screw (callout 1), release one tab (callout 2), and then remove the low-voltage power
supply assembly (callout 3) from the product.
Figure 1-155 Remove the low-voltage power supply assembly (4 of 4)
3
1
2
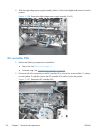
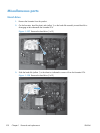
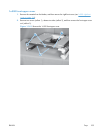
USB PCA
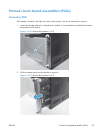
1. Remove the following components or assemblies:
●
Front cover. See
Front cover on page 11.
●
Control panel. See
Control panel assembly on page 33.
98 Chapter 1 Removal and replacement ENWW