


Required tools
●
#2 Phillips screwdriver with a magnetic tip and a 152-mm (6-in) shaft length
NOTE: For the best fit, use a JIS #2 Phillips screwdriver for the stapler/stacker.
●
Small, flat-blade screwdriver
●
Needle-nose pliers
●
ESD strap (if one is available)
●
Penlight
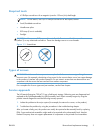
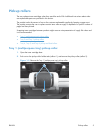
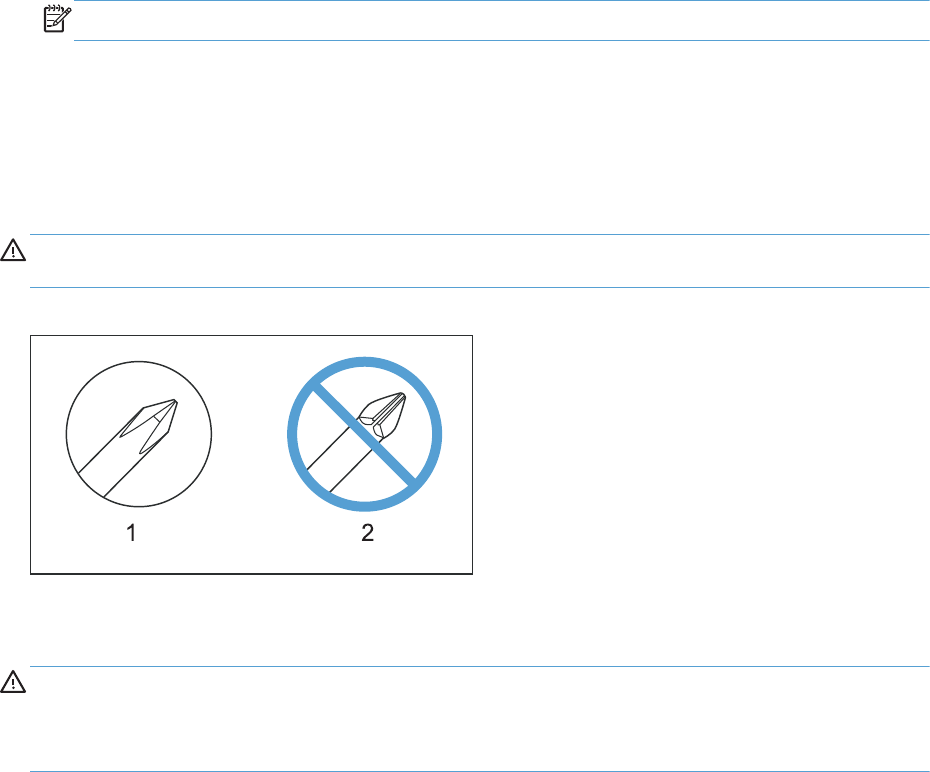
CAUTION: Always use a Phillips screwdriver (callout 1). Do not use a Pozidriv screwdriver
(callout 2) or any motorized screwdriver. These can damage screws or screw threads.
Figure 1-1 Screwdrivers
Types of screws
WARNING! Make sure that components are replaced with the correct screw type. Using the
incorrect screw (for example, substituting a long screw for the correct shorter screw) can cause damage
to the product or interfere with product operation. Do not intermix screws that are removed from one
component with the screws that are removed from another component.
For a complete list of screw types and part numbers, see the Parts chapter.
Service approach
The HP LaserJet Enterprise 700 M712 use a field repair strategy. Defective parts are diagnosed and
replaced at the Field Replaceable Unit (FRU) assembly level. Repair normally begins by using the
product internal diagnostics and the following two-step process:
1. Isolate the problem to the major system (for example, the network or server, or the product).
2. Troubleshoot the problem by using the procedures in the troubleshooting chapter.
After you locate a faulty part, the product can usually be repaired at the assembly level by replacing
FRUs. Some mechanical assemblies might need to be repaired at the subassembly level. Hewlett-
Packard Company does not support replacement of components on the printed circuit assembles.
ENWW
Removal and replacement strategy
3