


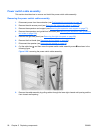

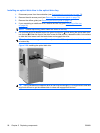
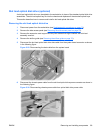
Installing a filler tray
1. Disconnect power from the workstation (see Predisassembly procedures on page 73).
2. Remove the side access panel (see
Removing the side access panel on page 75).
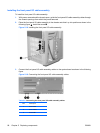
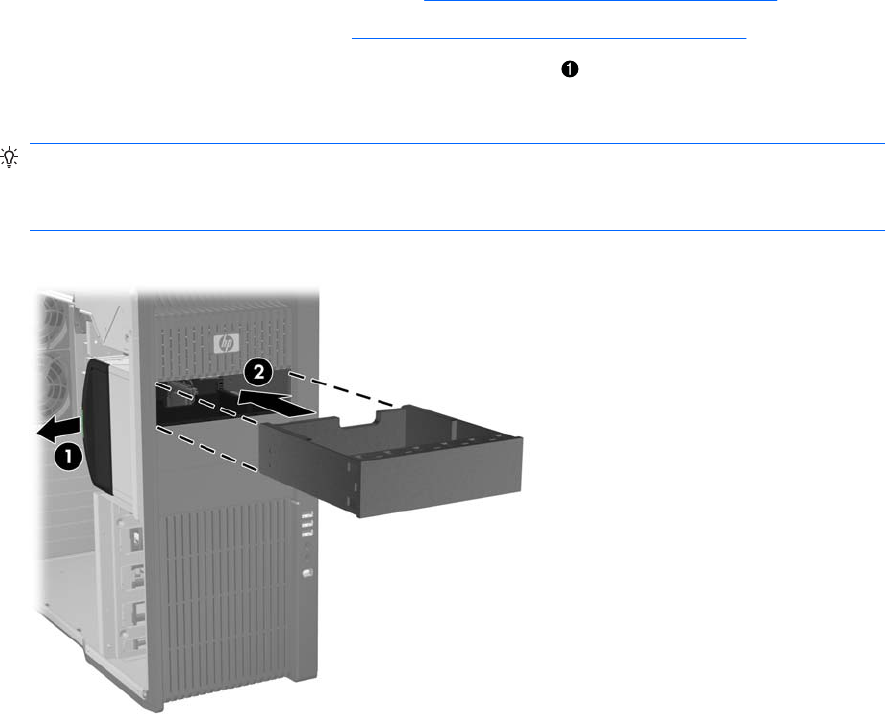
3. Lift and hold the drive release latch at the green touch point
while sliding the filler tray into the
bay
2
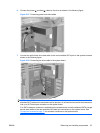
. When the front of the filler tray is near its final position, release the latch, but continue to
slide the filler tray inward until the latch closes and engages the filler tray.
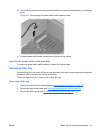
TIP: During installation the adjacent drive or filler may move slightly. You might have to slide and
align both devices to get the release latch to close and engage both devices.
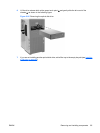
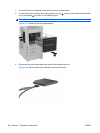
While the tray is partially inserted, replace excess power cables in the tray for storage.
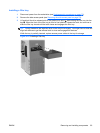
Figure 5-23 Installing a filler tray
ENWW Removing and installing components 93