


CPU
This section describes how to remove and install a CPU.
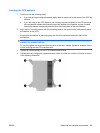
Removing a CPU
1. Disconnect power from the workstation (see Predisassembly procedures on page 73).
2. Remove the side access panel (see
Removing the side access panel on page 75).
3. Remove the expansion card support (see
Removing the expansion card support on page 77).
4. Remove the airflow guide (see
Removing the airflow guide on page 76).
5. Remove the memory fan assembly (see
Removing the memory fans on page 136).
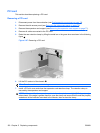
6. Remove the CPU heatsink (see
Removing the CPU heatsink on page 153).
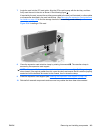
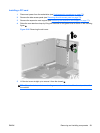
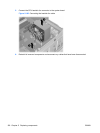
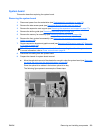
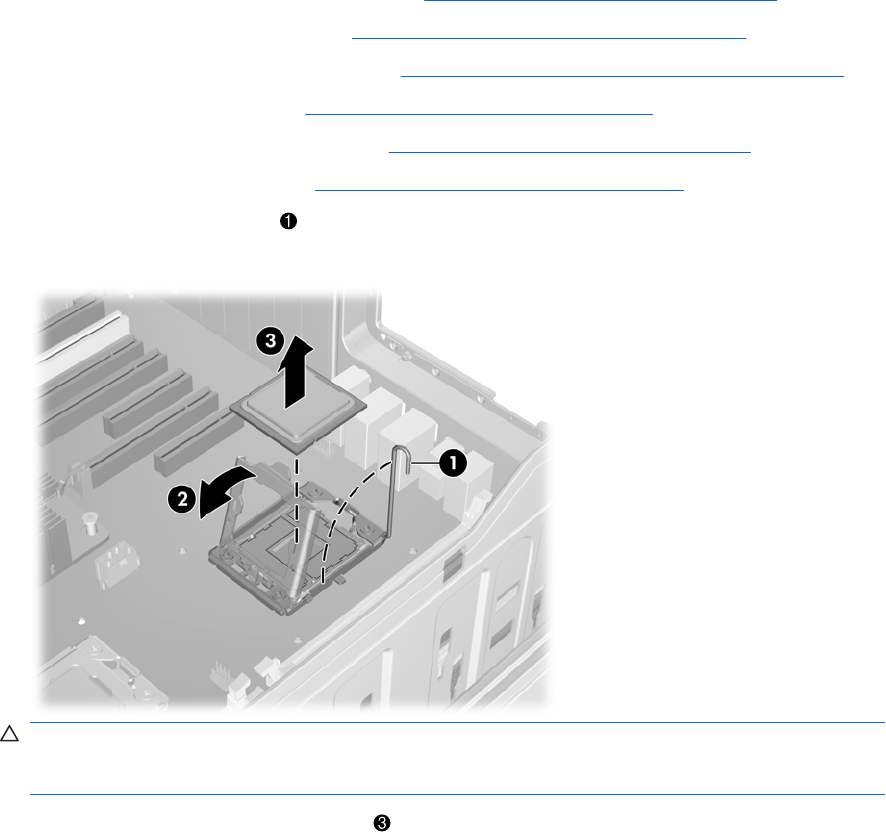
7. Raise the CPU socket lever
and open the cover
2
as shown in the following figure.
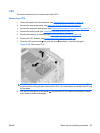
Figure 5-103 Removing a CPU
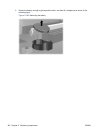
CAUTION: The CPU socket contacts and pads are extremely fragile. Do not touch the CPU
socket contacts or the gold pads underneath the CPU. Use extreme care and handle the CPU only
by the edges.
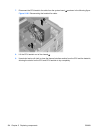
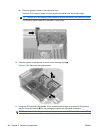
8. Pull the CPU straight out of the socket , and store the CPU in a static free container in a safe
place where it cannot be damaged
ENWW Removing and installing components 157