


Slot load optical disk drive (optional)
A slot load optical disk drive can be added to the workstation in place of the standard optical disk drive
assemblies. The slot load optical bay fits into the chassis and replaces all the standard optical bays.
This section describes how to remove and install a slot load optical disk drive.
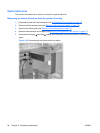
Removing the slot load optical disk drive
1. Disconnect power from the workstation (see Predisassembly procedures on page 73).
2. Remove the side access panel (see
Removing the side access panel on page 75).
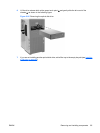
3. Remove the expansion card support and any card cables that might interfere with slot load
assembly removal.
4. Remove the airflow guide (see
Removing the airflow guide on page 76).
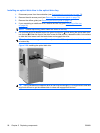
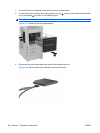
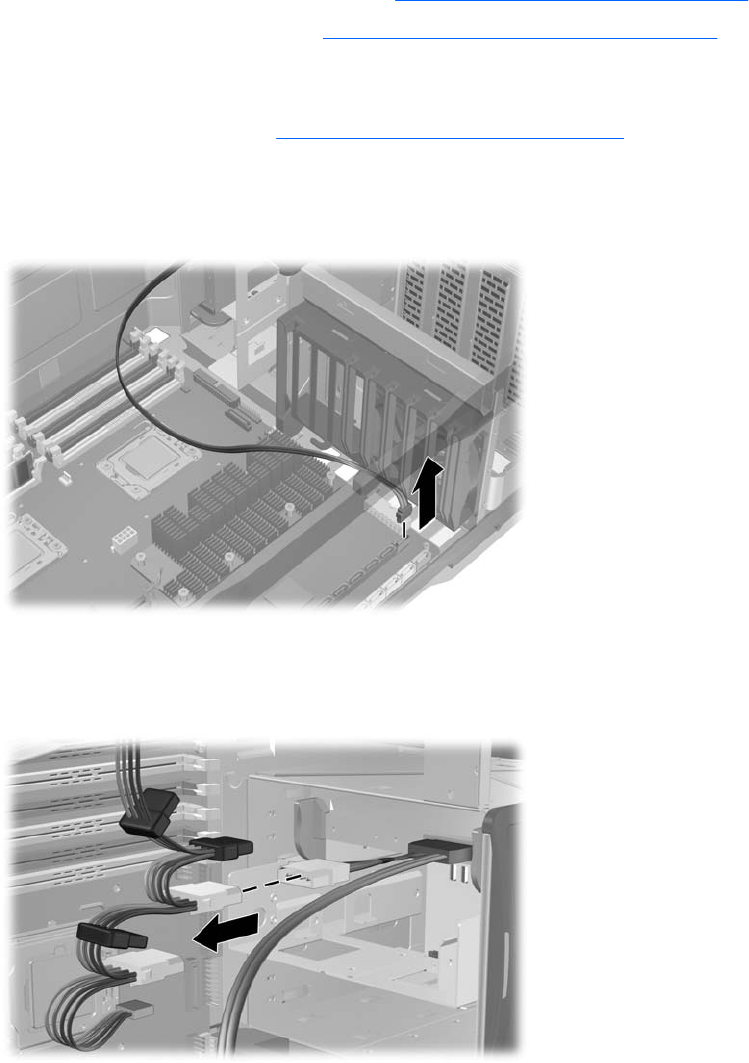
5. Disconnect the slot load optical disk drive data cable from the system board connector as shown
in the following figure.
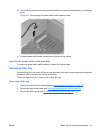
Figure 5-29 Disconnecting the data cable from the system board
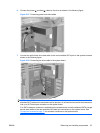
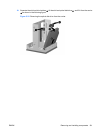
6. Disconnect the chassis power cable from the slot load optical drive power connector as shown in
the following figure.
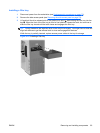
Figure 5-30 Disconnecting chassis power cable from optical disk drive power cable
ENWW Removing and installing components 99