


HP Omnibook XE3 (Technology Codes GE and GD) Removal and Replacement 2-41
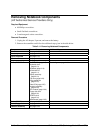
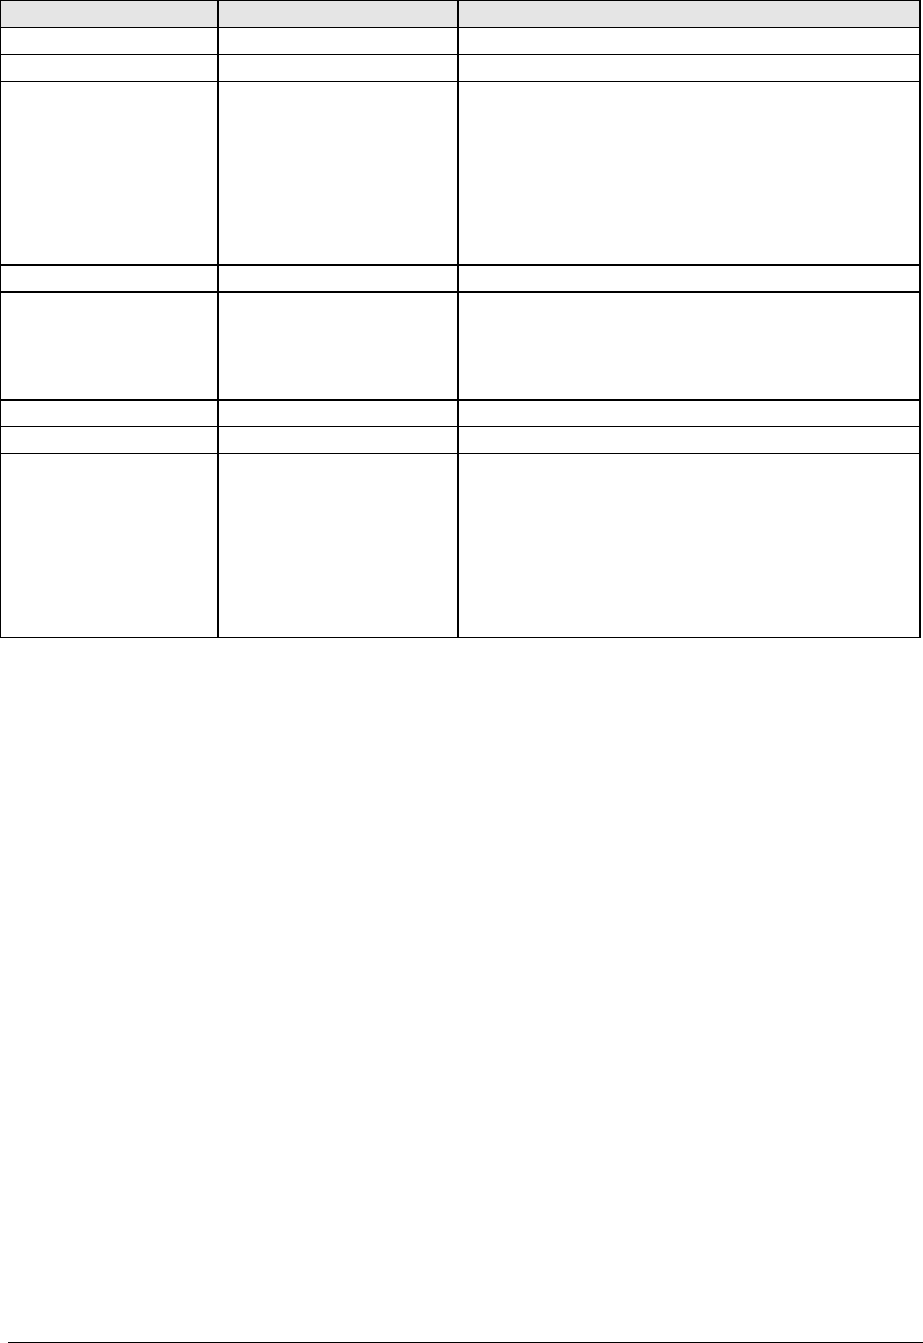
Component Removal Procedure Additional Steps
Keyboard
See page 2-12.
PCA, CD player
See page 2-24.
PCA, headphone
Keyboard cover
(page 2-10).
Keyboard (page 2-12).
Display assembly
(page 2-18).
Top case (page 2-22).
Hinge saddle set
(page 2-25).
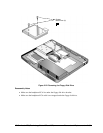
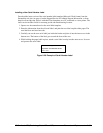
Remove the retaining screw from the PCA, disconnect
the cable to the motherboard, and lift the PCA out of
the notebook. You can lift the floppy drive slightly for
access.
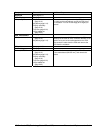
PCA, motherboard
See page 2-35.
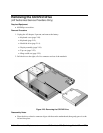
PCA, switchboard
Keyboard cover
(page 2-10).
Keyboard (page 2-12).
Remove both screws (M2.5x4 mm) from the PCA, and
carefully lift the PCA off of the connector beneath it. Be
careful not to pull on the cable attached to the PCA.
Disconnect the cable from the PCA and remove the
PCA from the notebook.
PCA, video
See page 2-27.
Saddle, hinge set
See page 2-25.
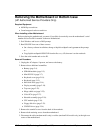
Socket, PCMCIA
Keyboard cover
(page 2-10).
Keyboard (page 2-12).
Display assembly
(page 2-18).
Top case (page 2-22).
Hinge saddle set
(page 2-25).
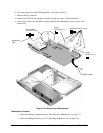
Remove the four screws attaching the PCMCIA socket
to the motherboard (M2.5x5 mm), and remove the
socket.