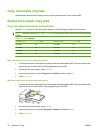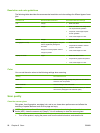
5. Select the quality and click Next.
6. Verify the selections, and then click Save.
Delete destinations
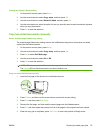
1. From the Set up the <Scan To> list for the All-in-One, select one of the Available Destinations
on this PC and click Delete. The Delete Destination dialog box displays.
2. From the Delete Destination dialog box, highlight the destination to delete and click Next. The
Confirmation dialog box displays.
3. Click Delete to perform the deletion, or click Cancel to choose another destination.
Scan to a file, e-mail, or software program
NOTE: To use this feature in Windows, a destination must be programmed in the scan setup before
scanning to a destination. See
Set up the product Scan To button on page 85.
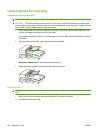
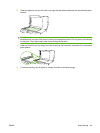
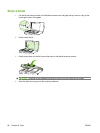
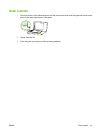
1. Load the originals that are to be scanned face-up in the automatic document feeder (ADF) input
tray, with the top of the document forward, and adjust the media guides.
-or-
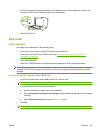
Lift the flatbed scanner lid and load the original that is to be scanned face-down on the flatbed
scanner with the top, left corner of the document located in the lower-right corner of the glass.
Gently close the lid.
2. On the product control panel, press Scan To.
3. Use the arrow buttons to select a file destination.
4. Press Start Scan or OK to scan the document to a file.
NOTE: Scanning to e-mail is supported by any e-mail program that supports the Messaging
Application Programming Interface (MAPI) protocol. Many versions of popular e-mail programs seem
to be MAPI-compliant. See the support information for your e-mail program to determine whether or not
it is MAPI-compliant.
Canceling a scan job
To cancel a scan job, use one of the following procedures.
●
On the product control panel, press Cancel.
●
Click the Cancel button in the onscreen dialog box.
If you cancel a scan job, remove the original from the flatbed scanner or from the automatic document
feeder (ADF) input tray.
86 Chapter 9 Scan ENWW


