


3 Using Your Laptop
SA200 37
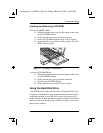
3.
When the floppy disk clicks into place, the eject button
pops out. The floppy disk is now ready for use.
To remove a floppy disk from the floppy disk drive, follow these
steps:
1.
Ensure that the FDD (Floppy Disk Drive) Status
indicator (located just below the display) is not lit.
Never remove a floppy disk from the floppy disk drive
while the FDD Status indicator is lit; otherwise you may
damage both the floppy disk and the floppy disk drive’s
read/write head.
2.
Gently press the floppy disk eject button.
3.
When the floppy disk pops out, remove it from the drive
slot and store it in a cool, dry place.
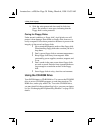
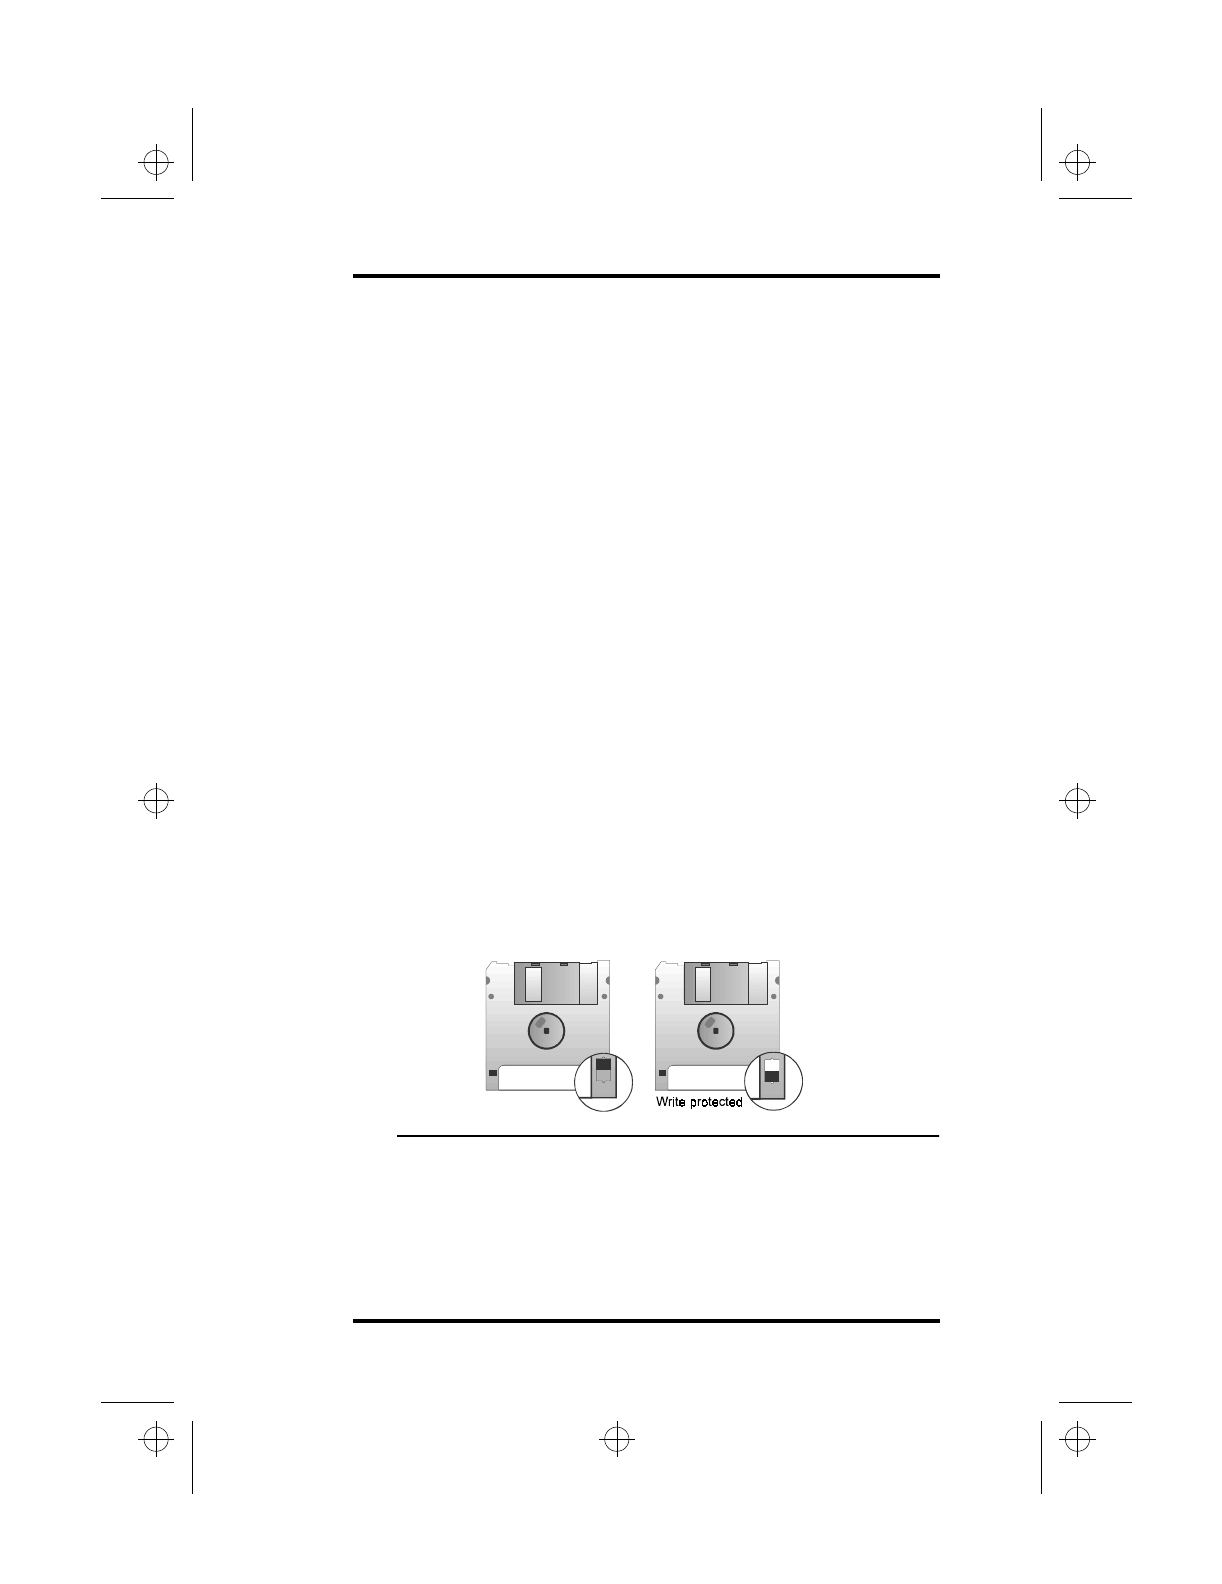
Write Protecting and Backing Up Floppy Disks
When working with floppy disks, it is easy to accidentally erase the
data stored on them. Write protecting a floppy disk serves several
important purposes:
•
It protects the data stored on the floppy disk from
being erased.
•
It prevents additional data from being written to the
floppy disk.
•
It protects the floppy disk from infection by a
computer virus.
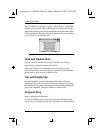
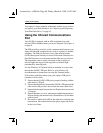
Figure 15 Write Protecting a Floppy Disk
Refer to the following instructions to write protect a floppy disk.
1.
Hold the floppy disk in front of you with the drive wheel
facing up as shown in Figure 15.
lonestar.boo : sa200.fm Page 37 Friday, March 6, 1998 10:53 AM