


Intel® Server RAID Controller U3-1 User’s Manual Rev 1.0 2-55
Advanced Installation Steps
BKSTROSM.HAM
SCSIOSM.HAM
HTTP and Winsock Services
RAID Management Agents
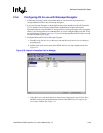
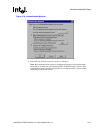
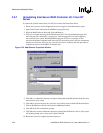
Select the desired components and hit <F10> to continue. The appropriate files are copied and
the AUTOEXEC.NCF and STARTUP.NCF files are modified as necessary.
Warning: Once the product is installed, check for and remove any duplicate lines in
STARTUP.NCF. For example, NetWare 4.2 installations may insert an extra load line for the
module PK411.NLM. Remove the extra line.
14. After the installation is complete, reboot the server to load the new drivers.
15. Load Support Pack 8a and reboot.
16. See Chapter 4, Section 4.3, “Configuring RAID Volumes Using the Intel® Integrated RAID
Storage Console” on page 4-12 to customize your RAID volumes using Storage Console.
NetWare 5
Have all hardware and software on hand. See system requirements in Section 2.5.8.2.
SRCU31 Hardware Installation
For complete hardware installation instructions see Section 2.5.2.3.
Intel Integrated RAID Software Installation
If you do not use the boot capability of the NW5 CD, then replace step 2-5 below with steps 2-4 of
the NetWare 4.2 instructions above.
1. Create and configure a RAID volume using the RAID Configuration Utility. See “How to
Invoke Advanced RCU” on page 2-19 to create and configure a RAID volume. Once a RAID
volume is created and configured, return to this procedure to install the operating system.
2. Insert the NetWare CD-ROM and reboot.
Note: The CMOS may need to be edited on some systems to be set to boot from the CD-ROM.
Otherwise, if the system finds a partition on the hard drive it will attempt to boot from it and an
error will result.
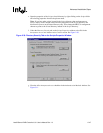
3. After booting you will first be asked to Accept the License Agreement. Do so. For a brand new
volume, you should then select “Create a New Boot Partition”.
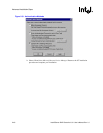
4. NetWare will then ask for the size of the boot partition, you can either keep the default of
50MB or hit “Modify” to change the size to suit your needs. When you are done, select
“Continue”.
5. It will ask you confirm the boot partition creation. Select “Continue”. You will then press a key
to reboot.
6. When NetWare boots again, it will first format the newly created boot partition, and then start
loading files. During this initialization, you will see a white graphical NetWare logo screen.
7. It will eventually load a Welcome screen, asking you to verify the startup directory
(C:\NWSERVER). Hit <Alt> <F10> to exit the installation. At the console, type “Down”. The
installation exits to the boot drive prompt.