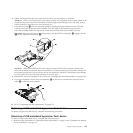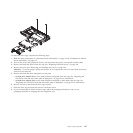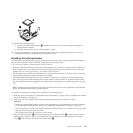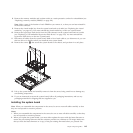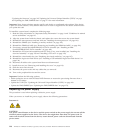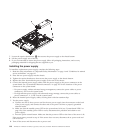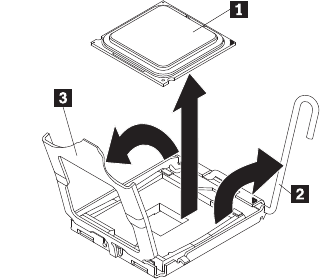
9. Remove the microprocessor:
a. Carefully lift the microprocessor 1 straight up and out of the socket, without touching the
microprocessor contacts.
b. Place the microprocessor on a static-protective surface
10. If you are instructed to return the microprocessor, follow all packaging instructions, and use any
packaging materials for shipping that are supplied to you.
Installing the microprocessor
The following notes describe the type of microprocessor that the server supports and other information
that you must consider when you install a microprocessor and heat sink:
v If you have to replace a microprocessor, call for service.
v Read the documentation that comes with the microprocessor, so that you can determine whether you
have to update the server firmware. To download the latest level of server firmware and other code
updates for your server, go to http://www.lenovo.com/support.
v The microprocessor speeds are automatically set for this server; therefore, you do not have to set any
microprocessor frequency-selection jumpers or switches.
v If the thermal-grease protective cover (for example, a plastic cap or tape liner) is removed from the
heat sink, do not touch the thermal grease on the bottom of the heat sink or set down the heat sink.
For more information about applying or working with thermal grease, see “Thermal grease” on page
143.
Note: Removing the heat sink from the microprocessor destroys the even distribution of the thermal
grease and requires replacing the thermal grease.
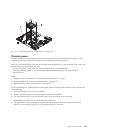
To install the replacement microprocessor, complete the following steps:
1. Read the safety information in “Important Safety Information” on page 1 and “Guidelines for trained
service technicians” on page 115.
2. Make sure that the microprocessor bracket frame and release latch are both fully open.
Attention:
v When you handle static-sensitive devices, take precautions to avoid damage from static electricity.
For details about handling these devices, see “Handling static-sensitive devices” on page 117.
v The microprocessor contacts are fragile; handle the microprocessor very carefully. Do not touch the
microprocessor contacts with your skin.
v The microprocessor fits only one way on the socket.
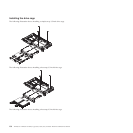
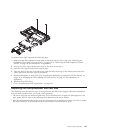
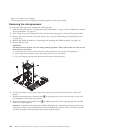
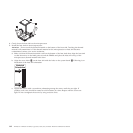
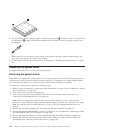
3. Align the microprocessor 1 with the socket (note the alignment mark 2 and the position of the
notches); then, carefully place the microprocessor on the socket, close the microprocessor bracket
frame 4, and close the microprocessor release latch 3.
Chapter 6. Replacing FRUs 141


