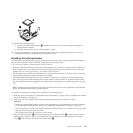
8. Remove the memory modules and set them aside on a static-protective surface for reinstallation (see
“Replacing a memory module (DIMM)” on page 122).
Note: Make a note of the location of each DIMM as you remove it, so that you can later reinstall it
in the same connector.
9. Remove the virtual media key from the system board and set it aside (see “Replacing the virtual
media key” on page 167). You must reinstall the virtual media key on the new system board.
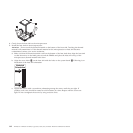
10. Remove the hypervisor flash device from the USB connector on the system board and set it aside
(see “Replacing a USB embedded hypervisor flash device” on page 133). You must reinstall the
hypervisor flash device on the new system board.
11. Disconnect all cables from the system board. Make a list of each cable as you disconnect it; you can
then use this as a checklist when you install the new system board.
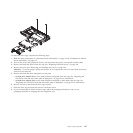
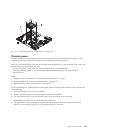
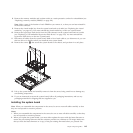
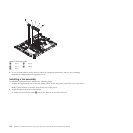
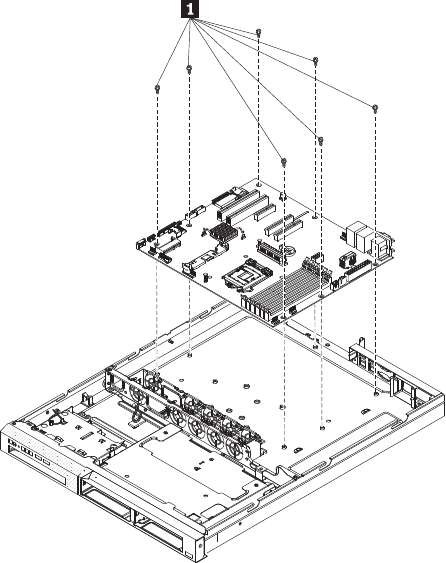
12. Remove the screws 1 that secure the system board to the chassis, and put them in a safe place.
13. Lift up the system board and carefully remove it from the server, being careful not to damage any
surrounding components.
14. If you are instructed to return the system board, follow all packaging instructions, and use any
packaging materials for shipping that are supplied to you.
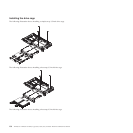
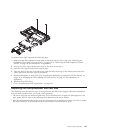
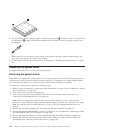
Installing the system board
Note: When you reassemble the components in the server, be sure to route all cables carefully so that
they are not exposed to excessive pressure.
Notes:
1. When you reassemble the components in the server, be sure to route all cables carefully so that they
are not exposed to excessive pressure.
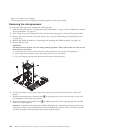
2. When you replace the system board, you must either update the server with the latest firmware or
restore the pre-existing firmware that the customer provides on a diskette or CD image. Make sure
that you have the latest firmware or a copy of the pre-existing firmware before you proceed. See
Chapter 6. Replacing FRUs 145


