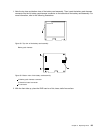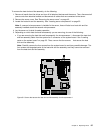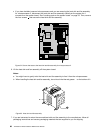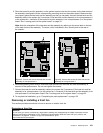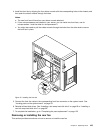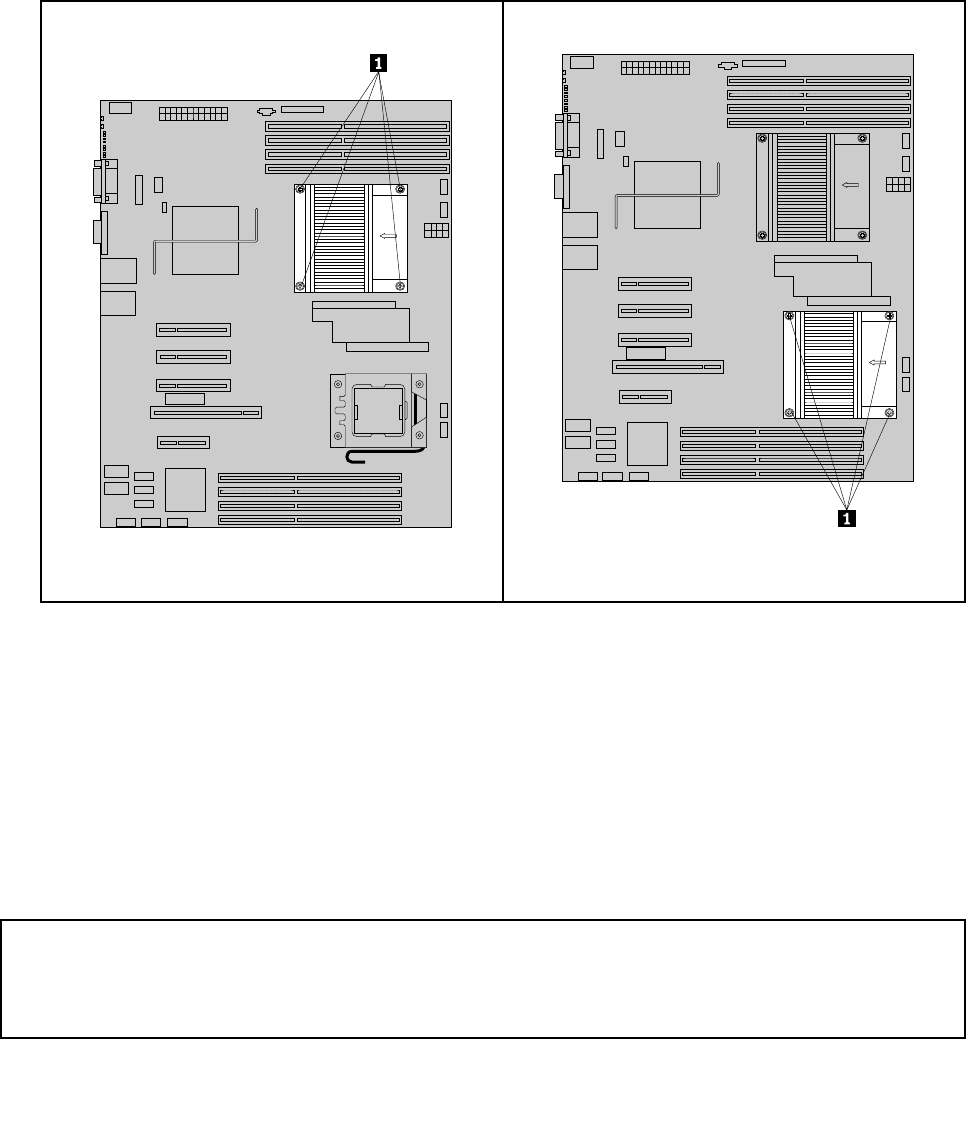
5. Place the heat sink and fan assembly on the system board so that the four screws on the heat sink and
fan assembly are aligned with the corresponding mounting studs on the system board. Make sure that
you properly place the heat sink and fan assembly so that you can easily connect the heat sink and fan
assembly cable to the system fan 2 connector (if the heat sink and fan assembly is for microprocessor 1)
or the system fan 1 connector (if the heat sink and fan assembly is for microprocessor 2) on the system
board. See “Locating parts on the system board” on page 33
.
Note: Note the orientation of the heat sink and fan assembly by referring to the arrow label on the top
of the heat sink and fan assembly. The arrow, which indicates air ow, should point to the rear of
the chassis.
Figure 67. Screws that secure the heat sink and fan
assembly for microprocessor 1
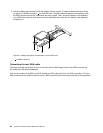
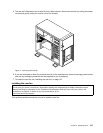
Figure 68. Screws that secure the heat sink and fan
assembly for microprocessor 2
6. Alternate tightening each screw a small and equal amount until the heat sink and fan assembly is
secured to the system board. Do not over-tighten the screws.
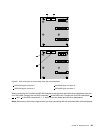
7. Connect the heat sink and fan assembly cable to the system fan 2 connector (if the heat sink and fan
assembly is for microprocessor 1) or the system fan 1 connector (if the heat sink and fan assembly is for
microprocessor 2) on the system board. See “Locating parts on the system board” on page 33.
8. To complete the installation, go to “Completing the parts replacement” on page 122.
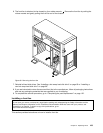
Removing or installing a front fan
This section provides instructions on how to remove or install a front fan.
Removing a front fan
Attention:
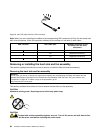
Do not open your server or attempt any repair before reading and understanding the Safety Information and the
Warranty and Support Information on the ThinkServer Documentation DVD that came with your product, and
“Guidelines” on page 39
. To obtain a copy of the publications, go to:
http://www.lenovo.com/support
Chapter 5. Replacing FRUs 101


