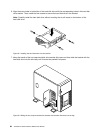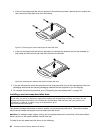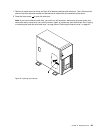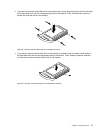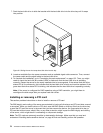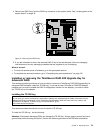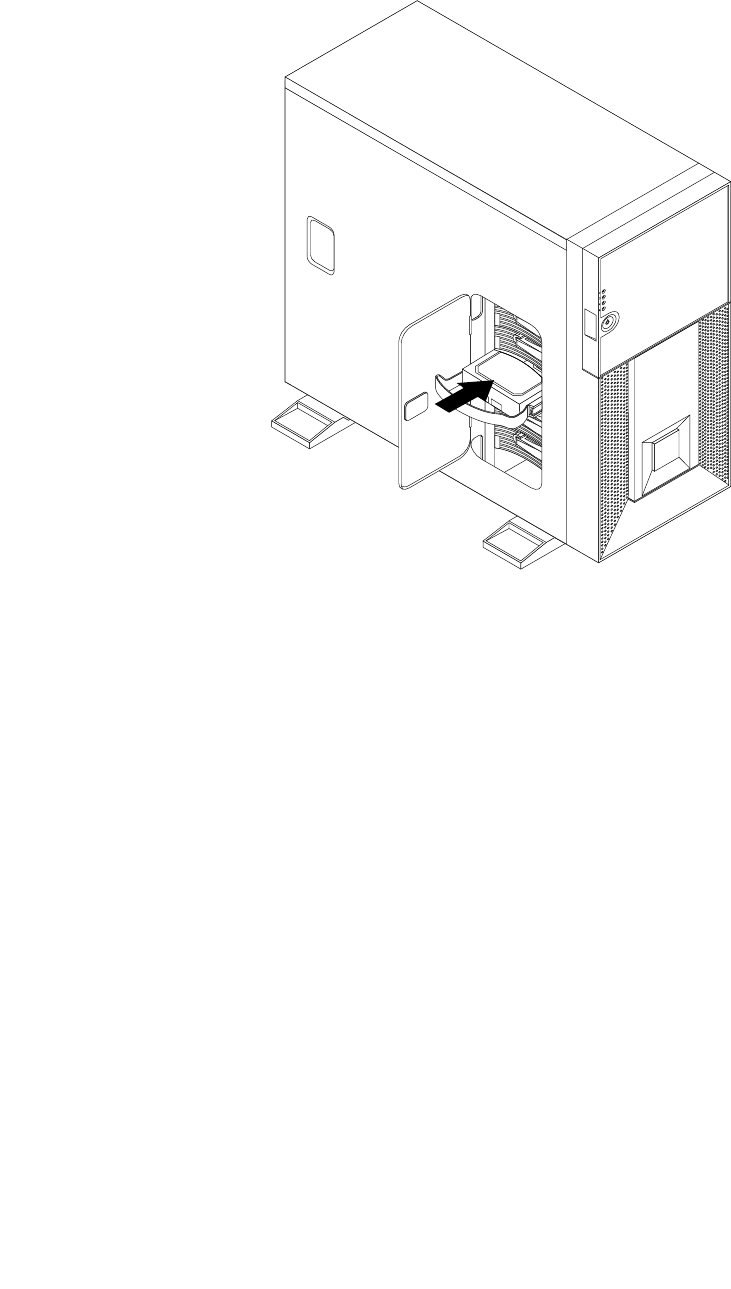
7. Push the hard disk drive to slide the bracket with the hard disk drive into the drive bay until it snaps
into position.
Figure 43. Sliding the non-hot-swap hard disk drive into the bay
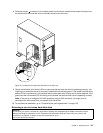
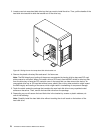
8. Locate an available ve-wire power connector and an available signal cable connector. Then, connect
the power cable and the signal cable to the hard disk drive.
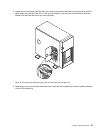
9. To complete the installation, go to “Completing the parts replacement” on page 122. Then, you might
need to check the hard disk drive status LEDs to make sure that the hard disk drive is operating
correctly. Restart the server for the newly installed drive to be recognized. If the amber hard disk drive
status LED is lit continuously, this indicates that the hard disk drive is faulty and must be replaced; if the
green hard disk drive status LED is blinking, this indicates that the hard disk drive is operating correctly.
Note: If the server is congured for RAID operation using a RAID controller, you might have to
recongure the disk arrays after you replace hard disk drives.
Installing or removing a PCI card
This section provides instructions on how to install or remove a PCI card.
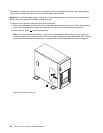
The EMI integrity and cooling of the server are protected by having all drive bays and PCI card slots covered
or occupied. When you install a drive or PCI card, save the EMC shield or drive bay ller from the drive bay
or save the PCI card slot cover in the event that you later remove the device. An unoccupied drive bay or
PCI card slot without cover, shield, ller, or any other protection might impact the EMI integrity and cooling
of the server, which might result in overheating or component damage.
Note: The PCI cards are extremely sensitive to electrostatic discharge. Make sure that you read and
understand “Handling static-sensitive devices” on page 40
rst and carefully perform the operation.
72 ThinkServer TD230 Hardware Maintenance Manual


