


© 2013 Microsoft Page 7
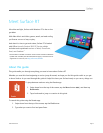
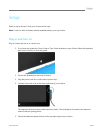
Surface setup
Setup runs the first time you turn on Surface. During setup you'll be able to customize things like the language,
color, and name for your Surface. You can change these things later if you'd like.
Two key things happen during setup:
You connect to a wireless network.
Setup finds and displays the available wireless networks so that you can get online.
You create a user account for Surface.
We recommended using a Microsoft account—an email address and password. When you sign in with a
Microsoft account, your Surface lights up with content from Microsoft services such as SkyDrive,
Outlook.com, your Windows Phone and Xbox, as well as your contacts and calendar from your email
account.
Already have a Microsoft account? A Microsoft account (formerly known as a Windows Live ID) is the email
address and password that you use to sign in to Microsoft services like Outlook.com, SkyDrive, Xbox Live, or your
Windows Phone. If you've used these services, then you already have a Microsoft account.
Have more than one Microsoft account? If you have more than one Microsoft account, you’ll need to choose
one to sign in with on your Surface. To help you figure out how to get down to just one Microsoft account, see
Choose a Microsoft account at WindowsPhone.com (English only).
To learn more about local and Microsoft accounts, see the Accounts section in this guide.
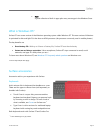
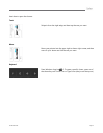
Lock screen and signing in
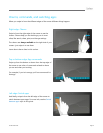
When you turn on or wake Surface, you'll see the Windows lock screen. To dismiss the lock screen, press a key or
swipe up from the bottom of the screen.
Next you'll see the Windows sign-in screen. Here you'll sign in using the account you created during setup. For
more info about signing in, see the Sign in topic in this guide.
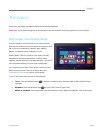
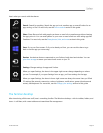
After you sign in to Windows, you'll see the Start screen. What is the Start screen? See the next section to find out.
Note Make it yours—be sure to read the Add your accounts topic after the Basics section.