


10
CHAPTER 1Installation
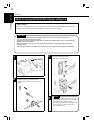
3. Setting-Up
3
- Before opening the optional packages or handling the options, briefly touch the metal part of the printer to
remove any electrostatic charge from your body.
- When options are taken out of their conductive bags or off their mats, hold them by their edge to avoid touching the
terminals or the patterned surfaces.
- When the Controller board is taken out of the printer, hold it by the edges to avoid touching the terminals or the
patterned surfaces.
- After removing the options or Controller board, be sure to place it on an anti-static mat or a piece of aluminum foil.
CAUTION
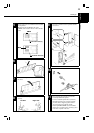
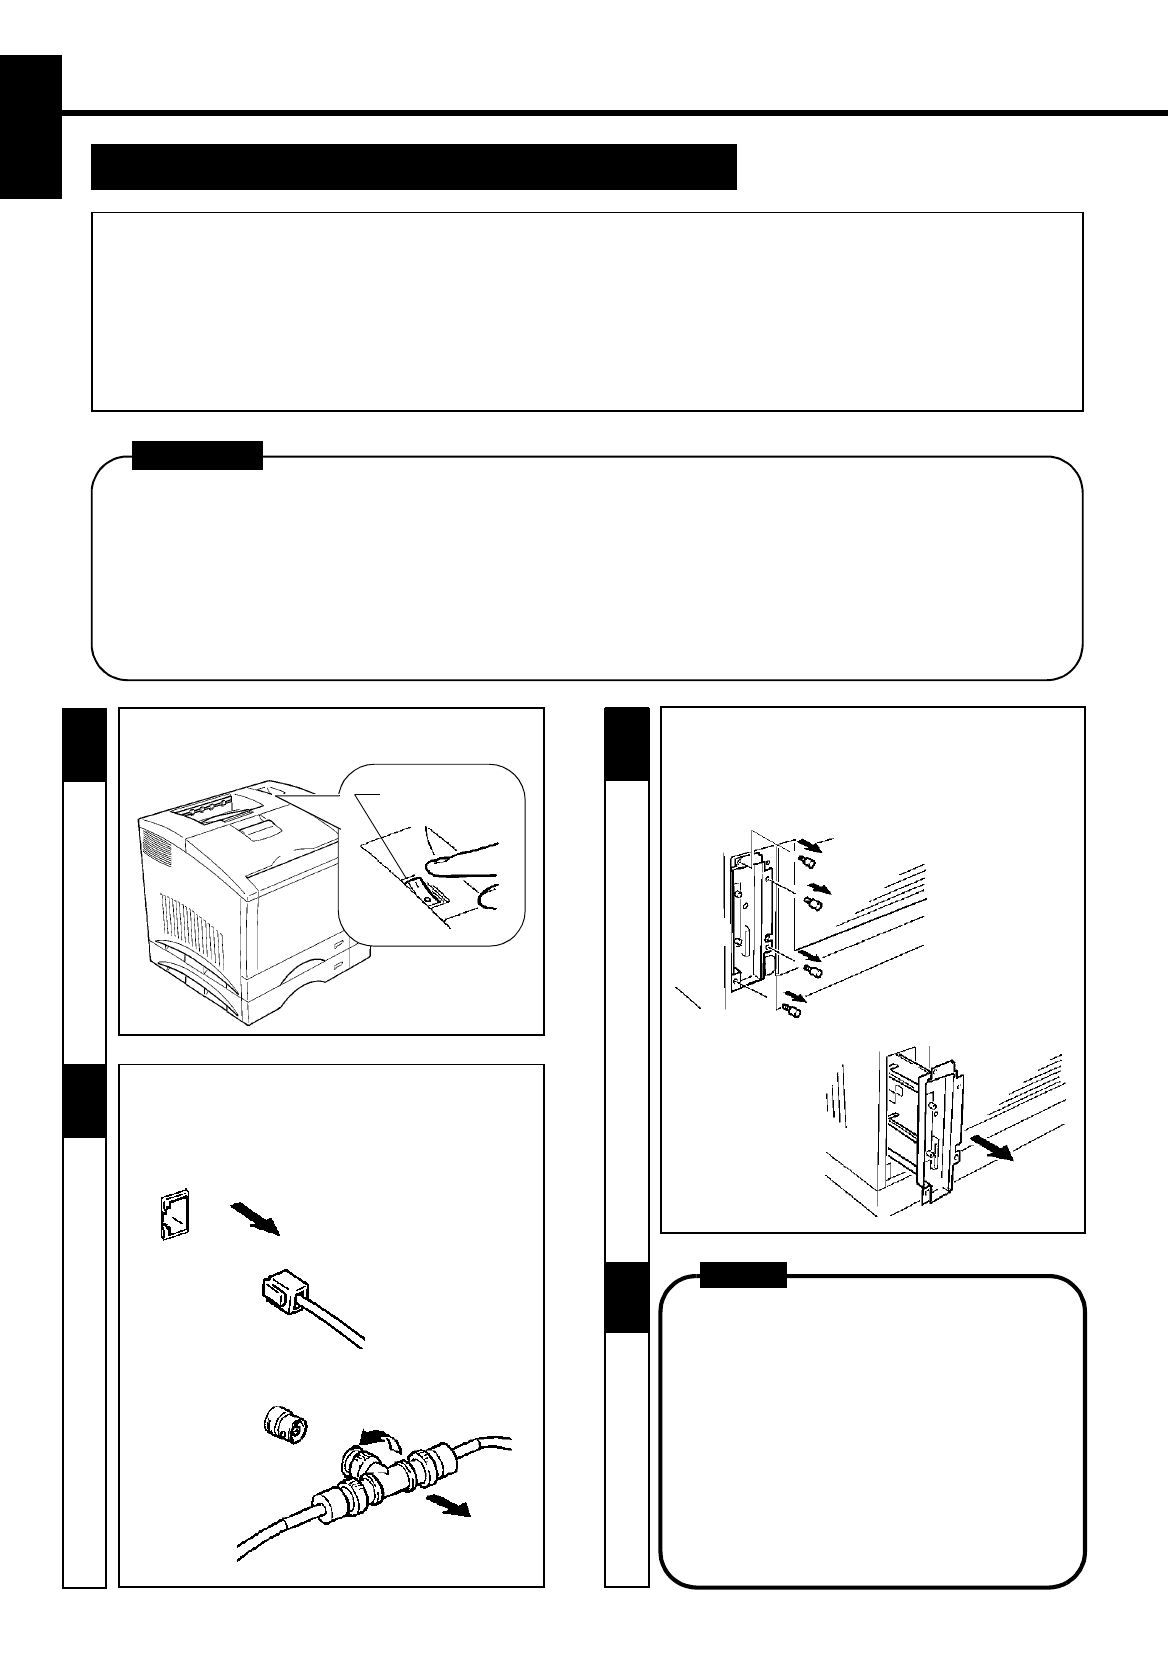
-
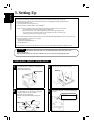
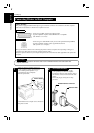
Remove the four screws that secure the controller
board on the back of the printer.
- Slide out the controller board.
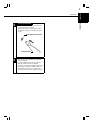
NOTE
-
When the Controller board is taken out of the
printer,
hold it by the edges to avoid touching
the terminals or the patterned surfaces.
-
After removing the options or Controller board,
be sure to place it on an anti-static mat or a
piece of aluminum foil.
4
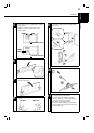
1
-
Turn the printer OFF.
Power Switch
Expansion Memory (Option) Setting-Up
PRECAUTION
-
This printer is equipped with two sockets for the installation of expansion memory.
-
The optional expansion memories come in five different capacities: 1 MB, 2 MB, 4 MB, 8MB, 16 MB, and 32 MB.
The combination in which expansion memories of different capacities are plugged in allows the memory capacity
of the printer to be expanded up to 68 MB (standard 4 MB + expansion 64 MB). Purchase the expansion memory
according to your particular need.
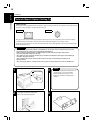
2
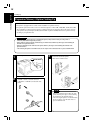
-
Disconnect the cable from the interface connector
(Parallel or Serial) or network connector
(10BASE-T or 10BASE-2) on the back of the
printer.