17
CONNECTIONS
PRINTING
ADJUSTMENTS
PRECAUTIONS FEATURES
PREPARATION
OTHERS
TROUBLE-
SHOOTING
BEFORE OPERATION
Before printing,
1. Unlock the printing unit. (See below)
2. Install the print paper and ink cassette. (pages 17-21)
1
2
with gear
without gear
About 20cm
PAPER SHEET SET
When using this unit for printing, make sure to use the following types of paper sheet and ink sheet set.
PAPER SHEET SET
Product name Ink sheet size No. of prints Usage
CK900S S size 200 Colour print
CK900L L size 130 Colour print
CK900S4P S size 130 Surface-laminated colour print
CK900L4P L size 90 Surface-laminated colour print
CK900S4P(HX)EU S Size 130 Surface-laminated colour print for ID photo
CK900L4P(HX)EU L Size 90 Surface-laminated colour print for ID photo
THERMAL PAPER
Product name Print size No. of prints Usage
K65HM-CE S/L size S size Approx.200 Thermal print
L size Approx.125
PAPER INK SHEET CASSETTE
Product name Ink sheet size No. of prints Usage
PKC900S S size 200 Colour print
PKC900L L size 130 Colour print
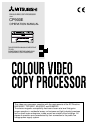
UNLOCK THE PRINTING UNIT
RELEASING THE PRINTING UNIT LOCK
Press down the knob to pull out the tray.
Shift the printing unit lock switch to the right (UNLOCK). (See page 8.)
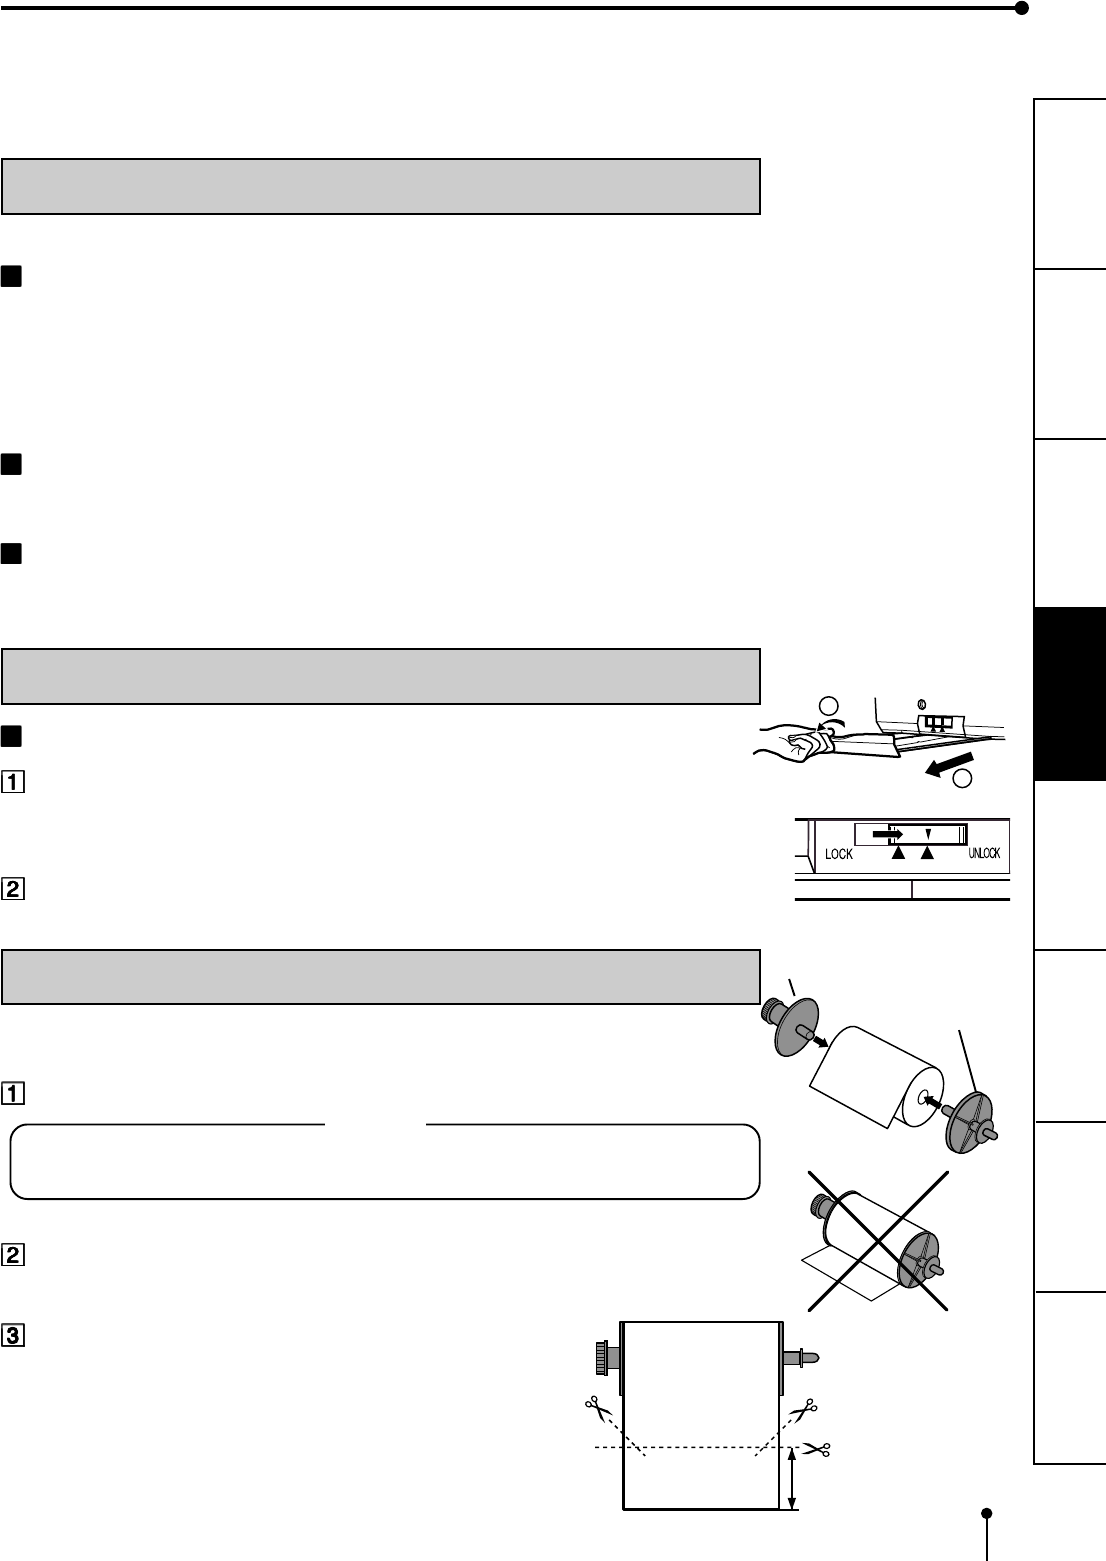
INSTALLATION OF PRINT PAPER
When using the thermal paper, prepare the following steps first.
Set the supplied paper attachments to both sides of the thermal paper.
NOTE
Set the attachment with gear on the left side.
Make sure to set them correctly.
Pull out the thermal paper about 20cm and cut it.
Remove the part with seal paste, dust and fingerprints.
Cut the both corners of the paper.
Installation for the thermal paper is completed.